Steamed buns filled with a sweet red bean paste (jjinppang) is a great snack the whole family will enjoy. This is also a great vegan and vegetarian snack or dessert option!
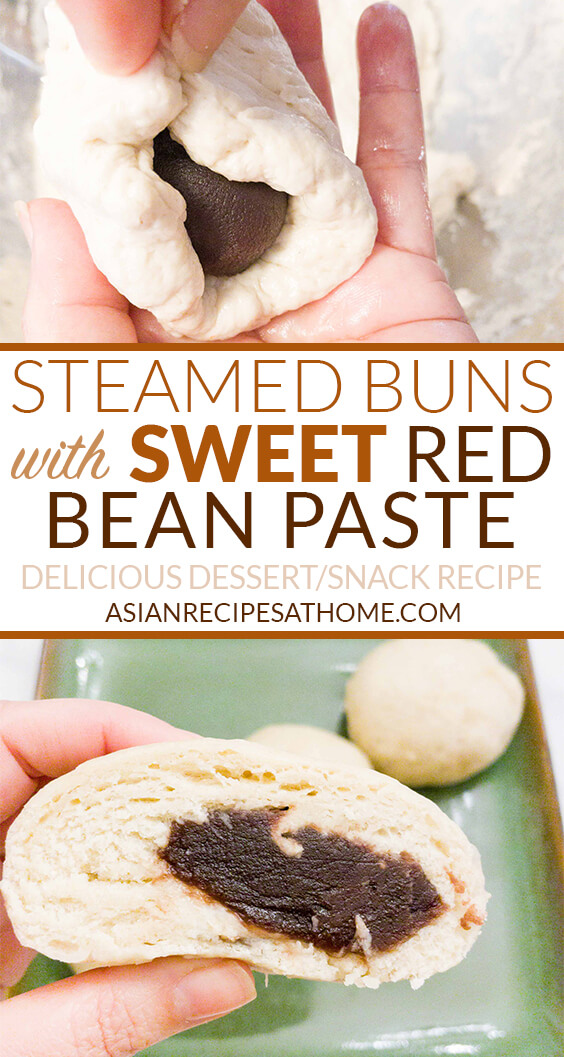
These buns are so good to have for a weekend snack, or anytime really. It does take a bit of love and effort to make these so we personally usually like to make these on the weekend. The bun itself is pretty neutral in taste with just a tiny bit of sweetness from the sugar. However, you want the bun part to not be overly sweet because it balances out the sweet red bean paste filling perfectly. I don’t know about you but I’m not a huge fan of sweet on sweet.
Key features and tips
We steam these red bean paste-filled buns. It gives it a nice slightly chewy texture while also keeping the bun full of moisture.
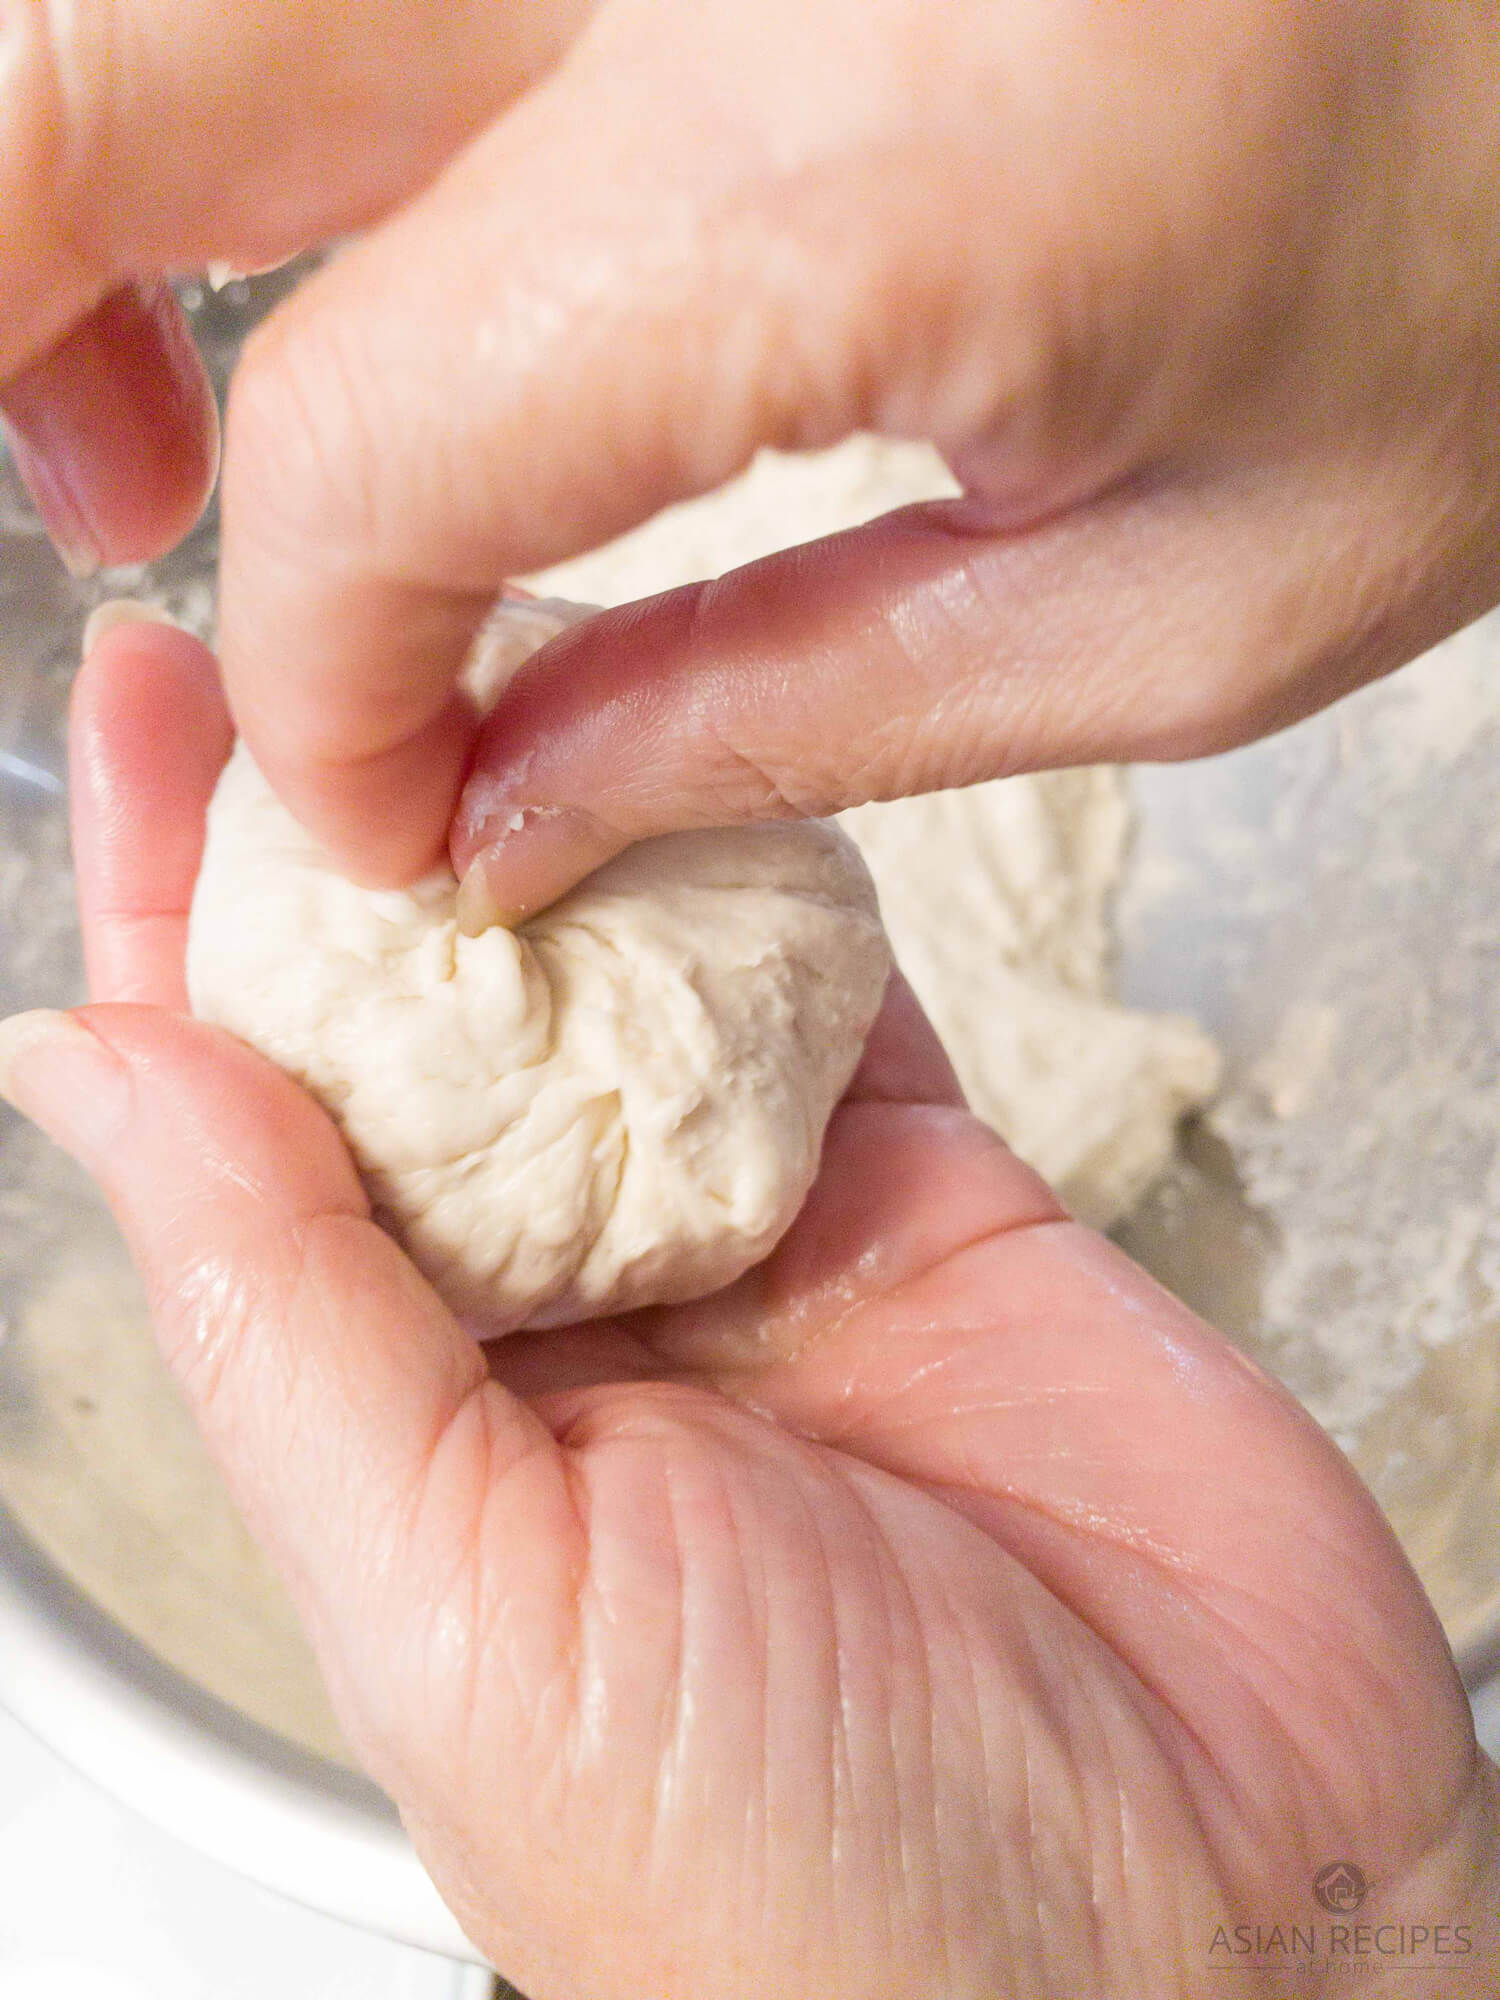
It is a bit tricky to get the red bean filling directly in the center of the bun. That’s where the saying comes in that practice makes perfect. You can also adjust the amount of sweet red bean paste filling you prefer in the buns. We typically suggest one to two tablespoons, but if you’d like more then add more! Although, just be careful that the dough is not too thin around the red bean paste filling. You don’t want it to tear open while the buns are steaming. That would be so sad and a mess in your steamer pan.
Ingredients needed to make these steamed buns with sweet red bean paste filling (jjinppang)
You only need 7 ingredients for our recipe. Red bean paste can be found at most Asian grocery stores. Everything else you should be able to find just fine at your regular grocery store.
How to make jjinppang
Step 1: Prepare the yeast and water
In a medium-sized bowl, mix a cup of warm water with the packet of yeast. Set aside for about 20 minutes at room temperature.
Step 2: Mix the dry ingredients together
While you wait for the yeast to activate, mix together all of the dry ingredients: all-purpose flour, salt, and sugar together in another large mixing bowl.
Step 3: Combine the yeast water and the dry ingredients
After 20 minutes, add the yeast water to the bowl with the dry ingredients and mix everything together well.
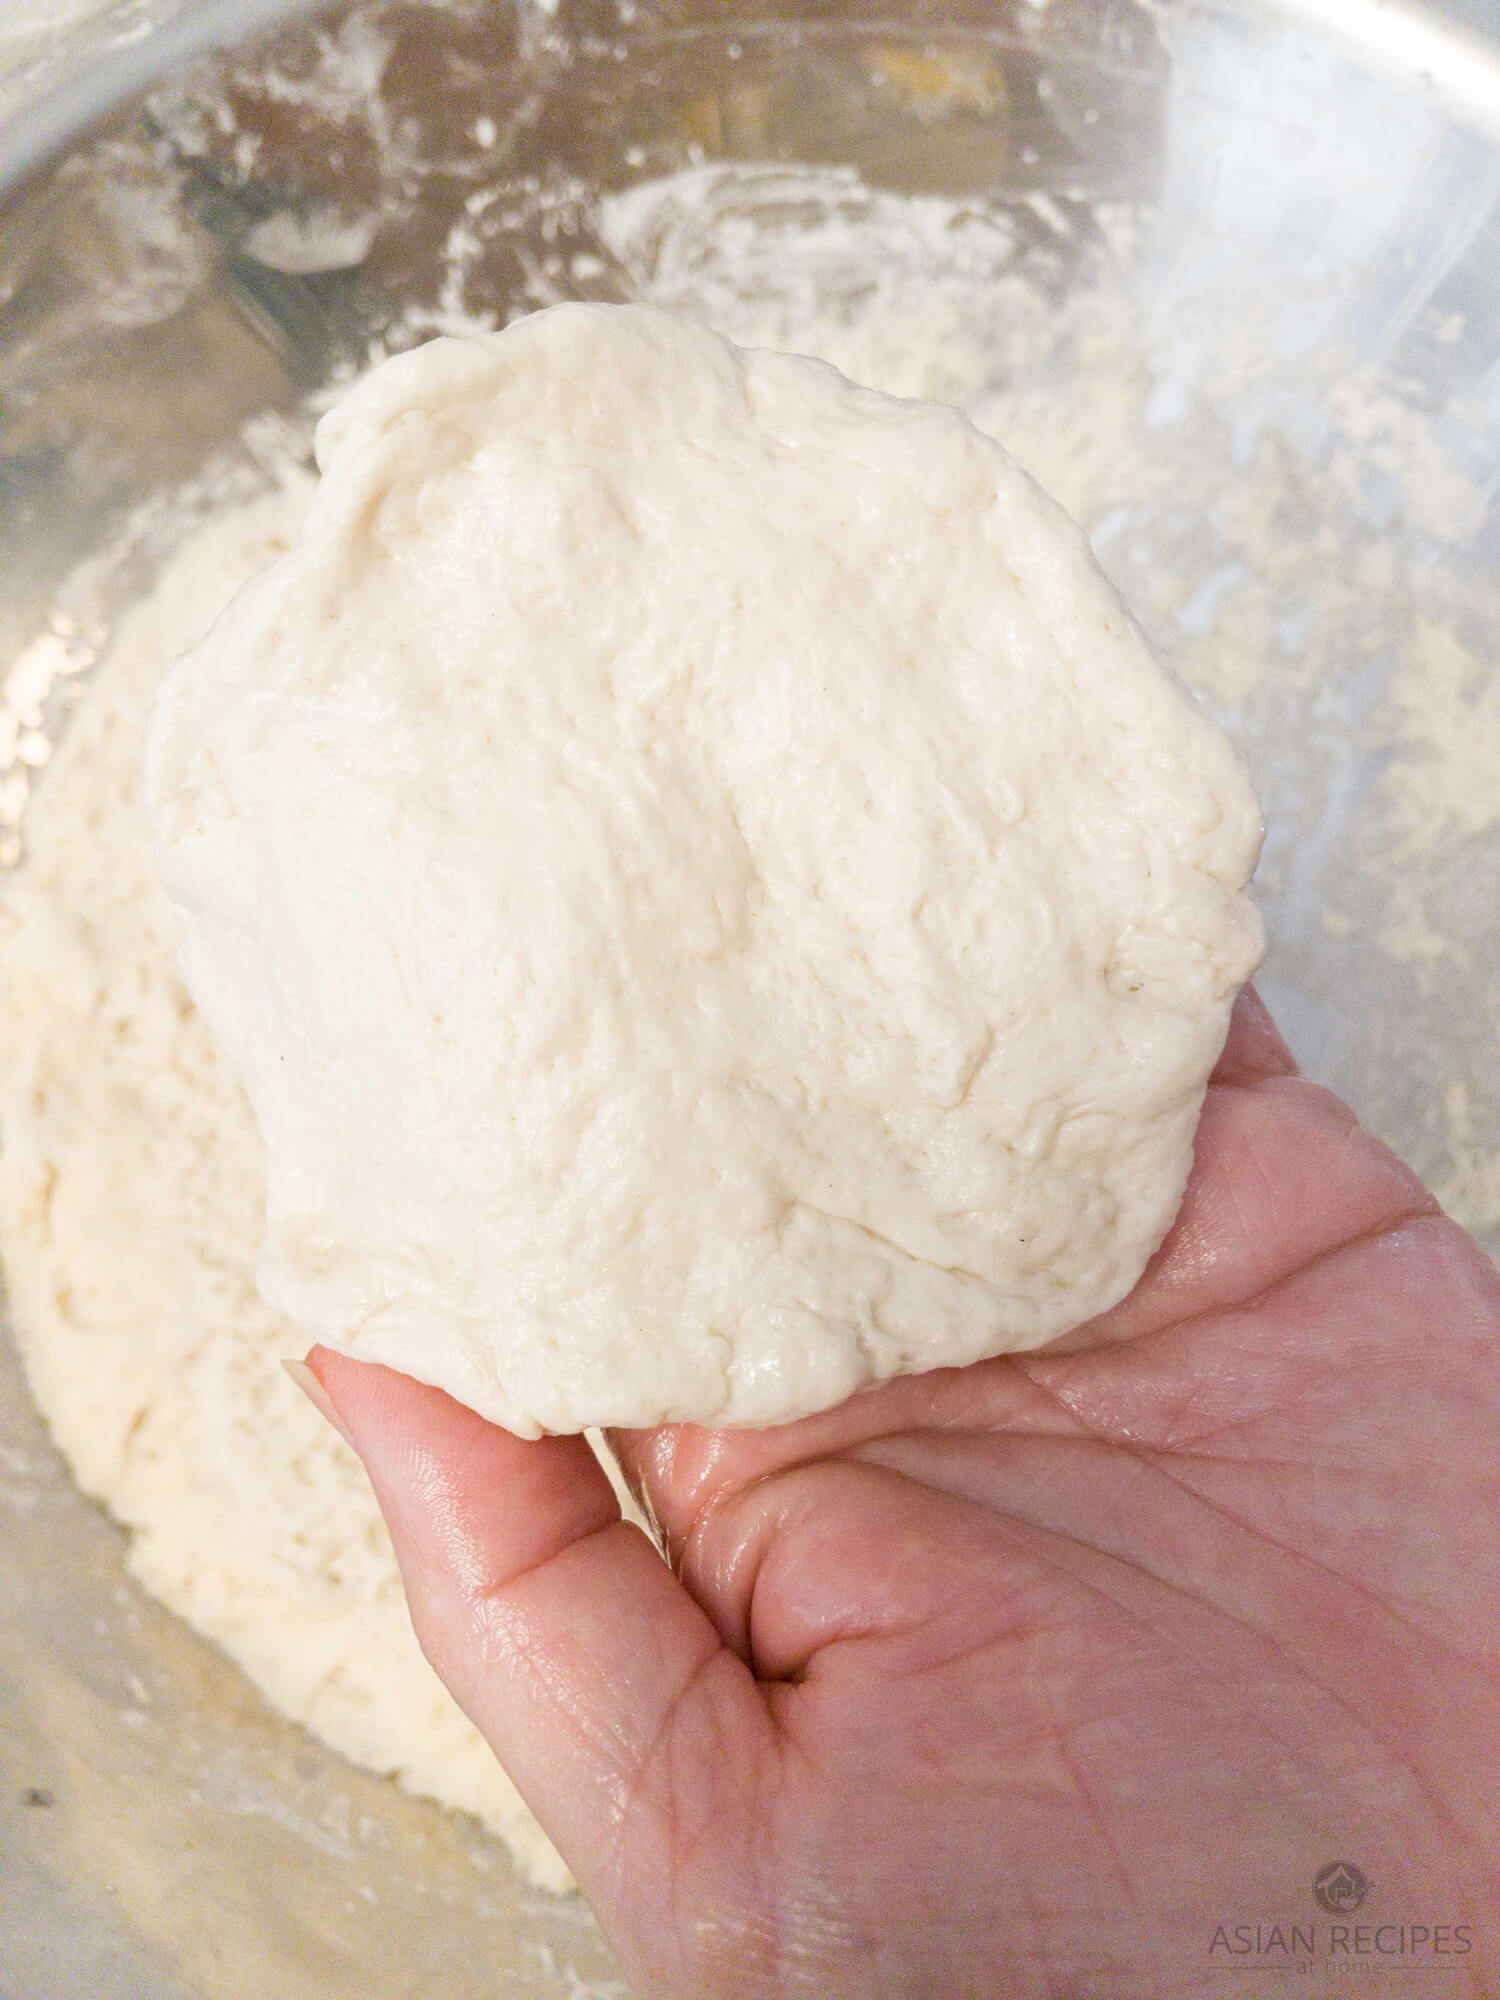
Step 4: Cover and allow it to rest
Cover the bowl with plastic wrap and leave it at room temperature. Set aside for 5-6 hours until the dough rises. It should almost triple in size. Make sure the dough is in a large enough bowl to compensate for when it rises.
Step 5: Time to make the buns
After the dough has risen, add the avocado oil to a small bowl. This will be used to oil your hands so the dough doesn’t stick to your hands. Oil your hands a bit, and then take a small amount of dough from the batch. Work the dough so that it starts becoming flat, kind of like a dumpling wrapper (but it will be thicker).
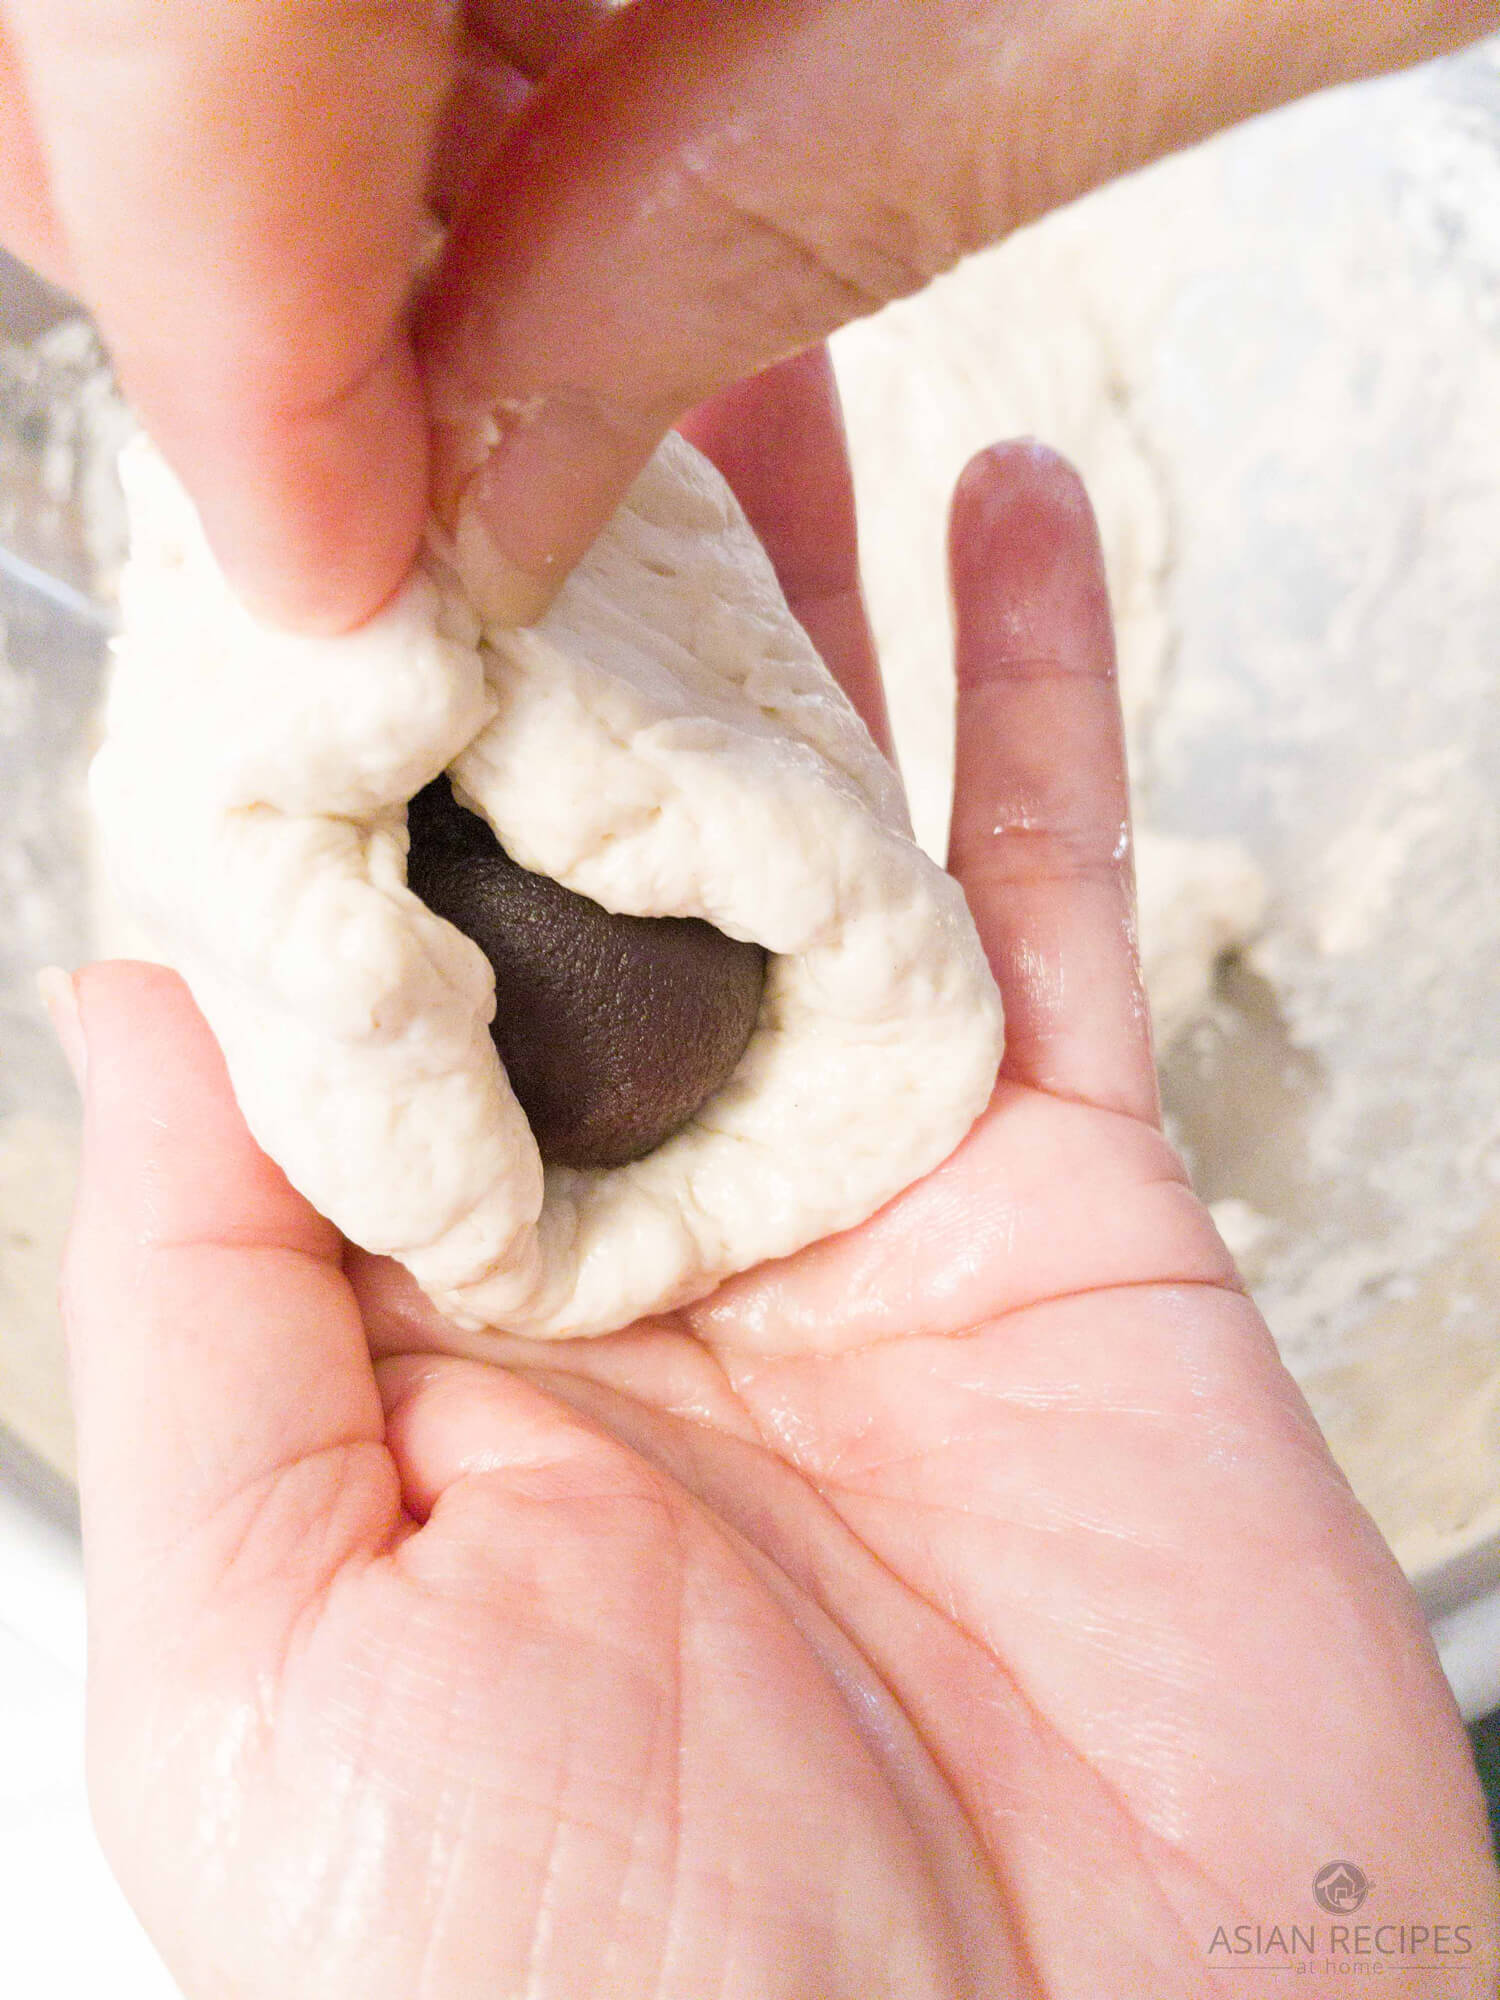
Then add a tablespoon or so of the red bean paste to the middle of the flattened-out dough. You can add more or less of the red bean paste depending on how much of the sweet filling you prefer. We suggest 1-2 tablespoons of red bean paste.

Bring up the sides together and pinch the dough closed around the red bean paste filling. You just want to ensure the filling is fully enclosed in the dough. Repeat making each bun following the steps above until all of the dough is used.
Step 6: Prepare the steamer and add the buns
Let’s prepare the steamer. Put some water at the bottom of the steamer. Not too much because you don’t want it to boil up and make the buns wet (about a cup or two of water). Let the water come to a boil first. Once it’s reached a boil, lightly oil the bottom of your steamer rack and then add your buns to the top steamer rack. Do not let them touch each other, and make sure you only put them in a single layer – we do not want them to stick to each other.
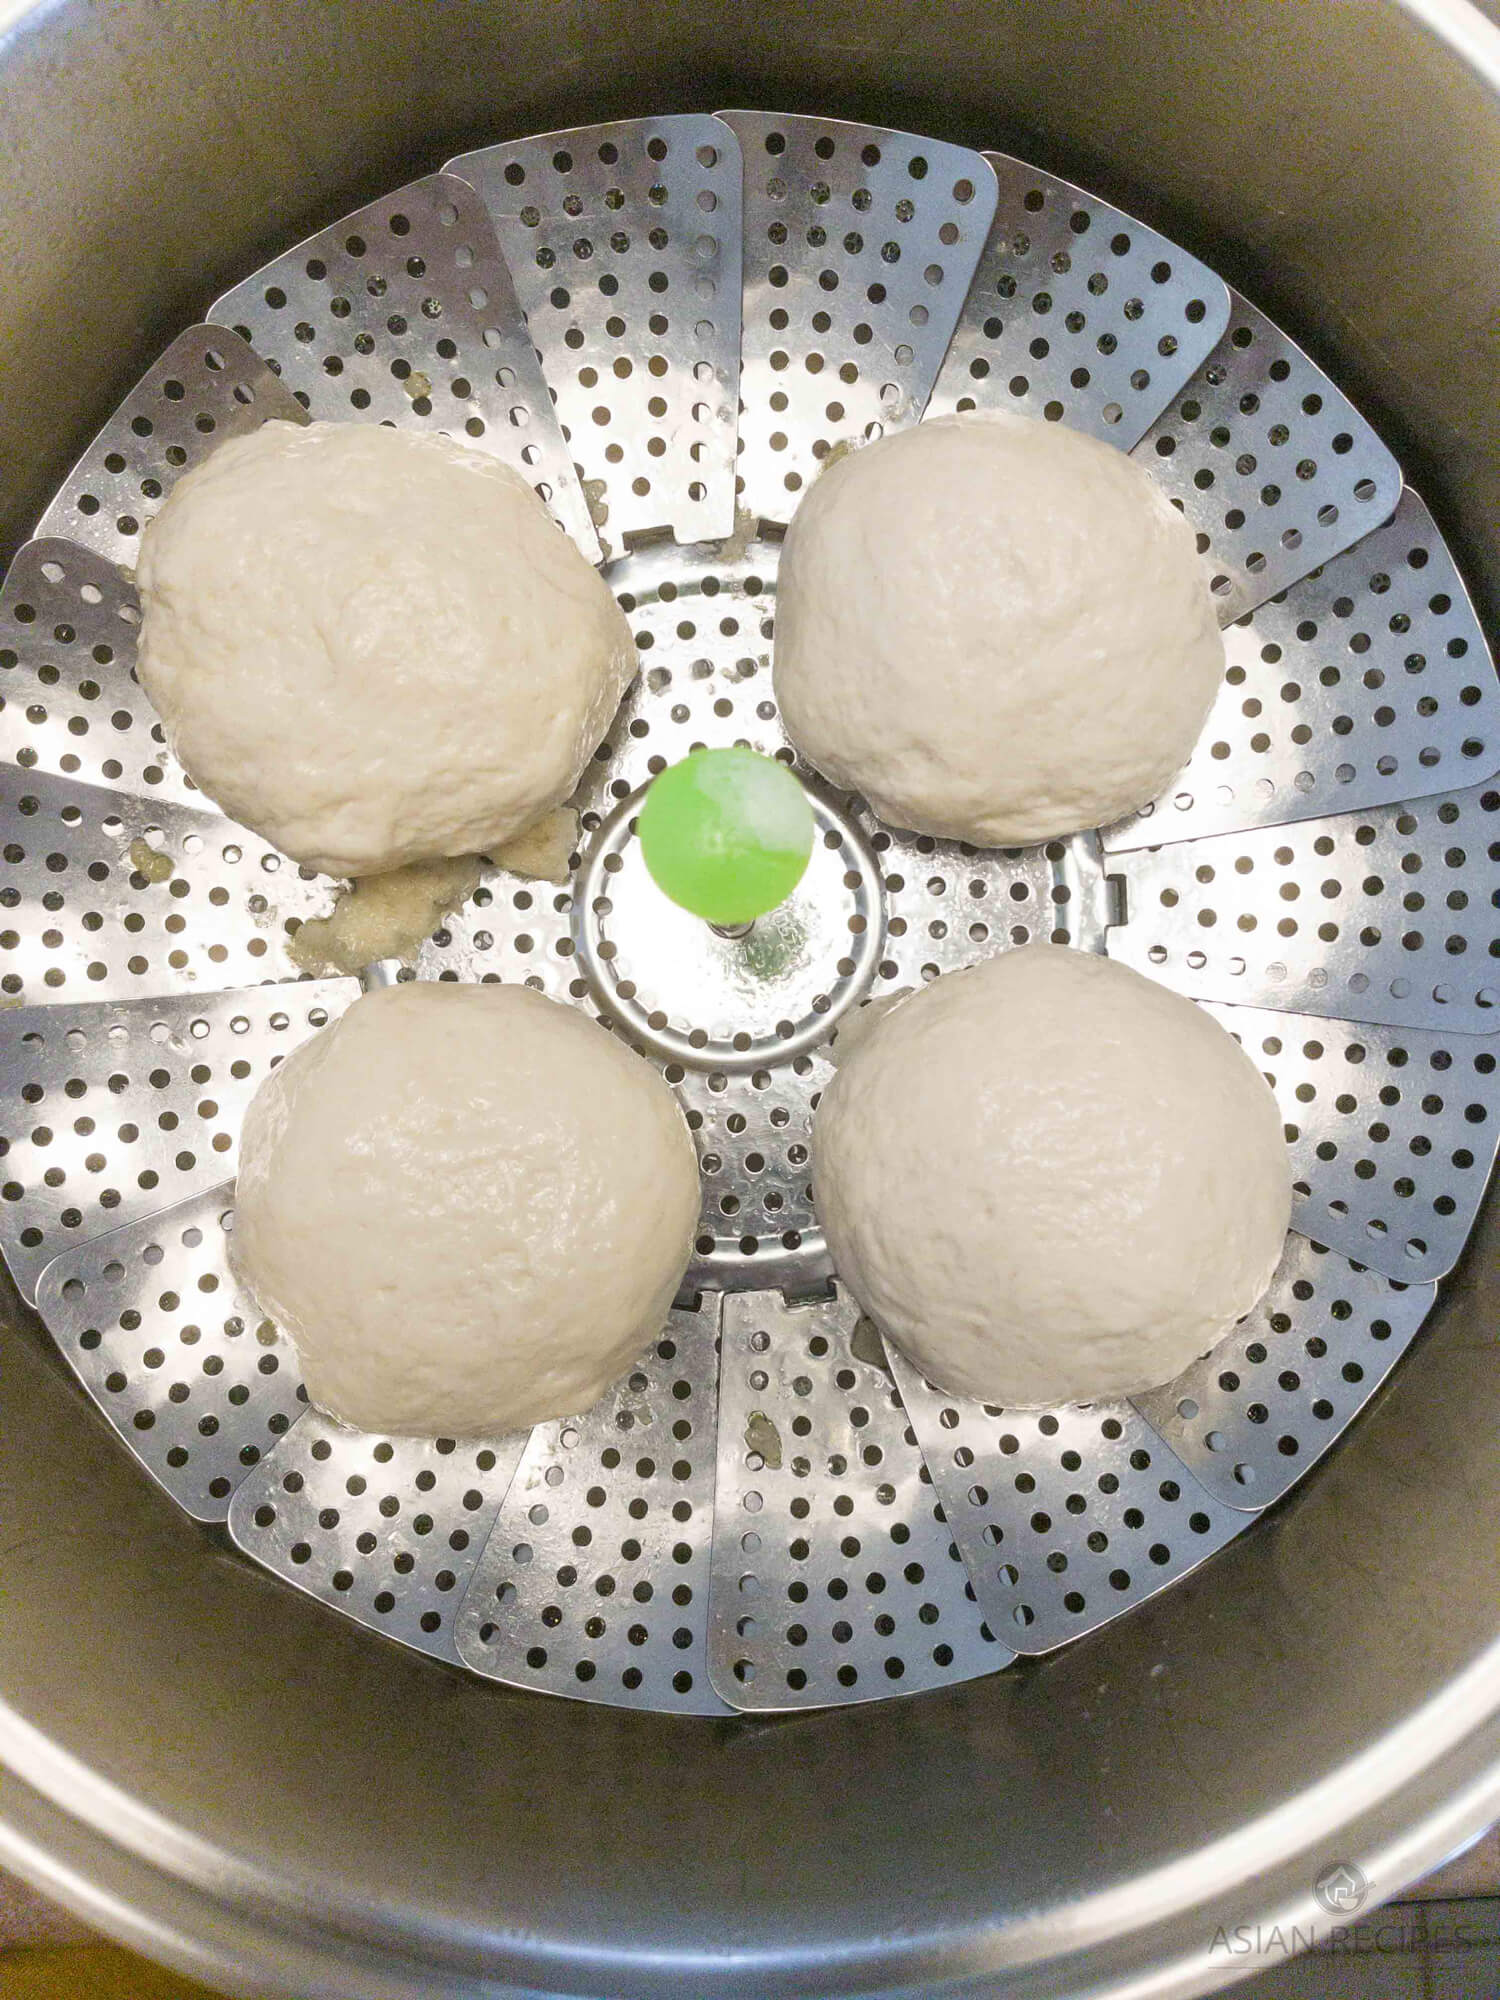
Step 7: Cover and allow buns to steam
Cover the steamer pot and let the buns steam for about 20 minutes on medium-high heat.
You may have to repeat steaming in batches depending on the large your steamer is.
Step 8: Enjoy!
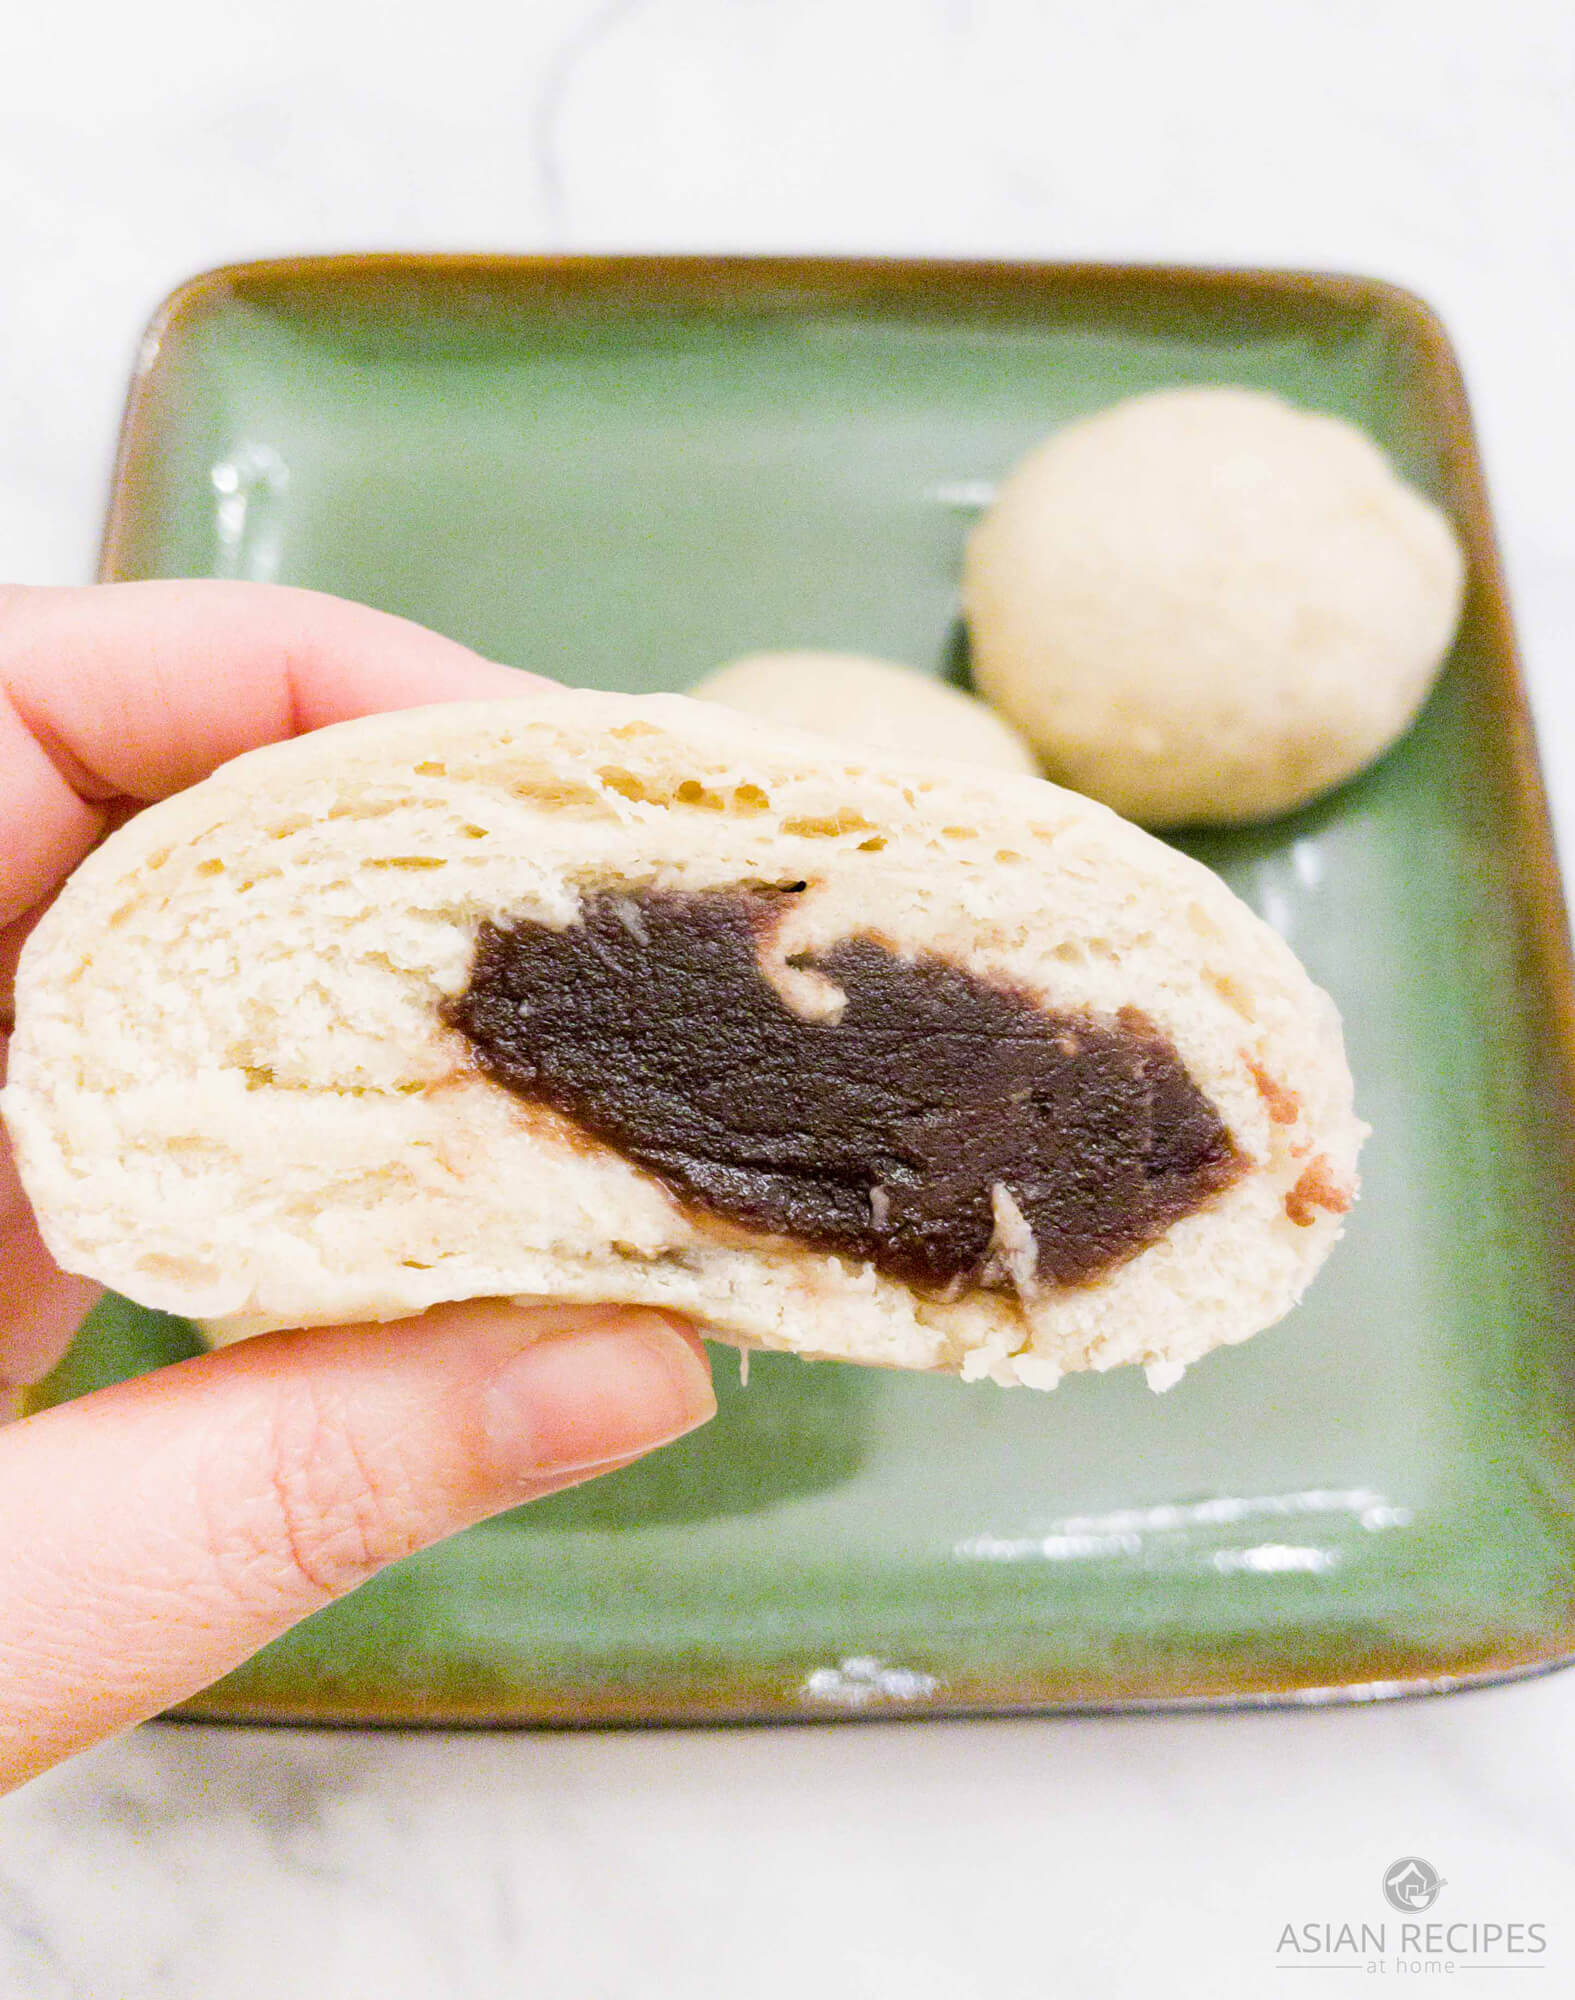
We hope you enjoy our Steamed Sweet Red Bean Paste Buns (Jjinppang) recipe!
HUNGRY FOR MORE? Subscribe to our newsletter and follow along on Facebook, Pinterest, Twitter, and Instagram for all of the latest updates.
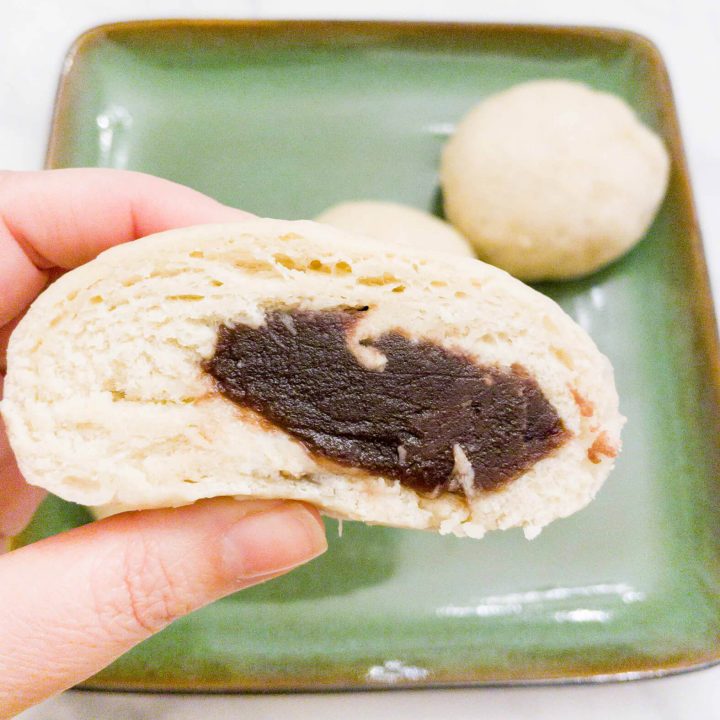
Steamed Sweet Red Bean Paste Buns (Jjinppang)
Steamed buns filled with a sweet red bean paste (jjinppang) is a great snack the whole family will enjoy.
Ingredients
- 3 cups all-purpose flour
- 1 instant yeast packet (or 0.75oz)
- 1 ½ tsp salt
- 3 Tbsp sugar
- 1 Tbsp avocado oil
- ½ can red bean paste
- 1 cup water
Instructions
- In a medium-sized bowl, mix a cup of warm water with the packet of yeast. Set aside for about 20 minutes at room temperature.
- While you wait for the yeast to activate, mix together all of the dry ingredients: all-purpose flour, salt, and sugar together in another large mixing bowl.
After 20 minutes, add the yeast water to the bowl with the dry ingredients and mix everything together well. - Cover the bowl with plastic wrap and leave it at room temperature. Set aside for 5-6 hours until the dough rises. It should almost triple in size. Make sure the dough is in a large enough bowl to compensate for when it rises.
- After the dough has risen, add the avocado oil to a small bowl. This will be used to oil your hands so the dough doesn’t stick to your hands. Oil your hands a bit, and then take a small amount of dough from the batch. Work the dough so that it starts becoming flat, kind of like a dumpling wrapper (but it will be thicker).
- Then add a tablespoon or so of the red bean paste to the middle of the flattened-out dough. You can add more or less of the red bean paste depending on how much of the sweet filling you prefer. We suggest 1-2 tablespoons of red bean paste.
- Bring up the sides together and pinch the dough closed around the red bean paste filling. You just want to ensure the filling is fully enclosed in the dough. Repeat making each bun following steps 5-7 until all of the dough is used.
- Let’s prepare the steamer. Put some water at the bottom of the steamer. Not too much because you don’t want it to boil up and make the buns wet. Let the water come to a boil first. Once it’s reached a boil, lightly oil the bottom of your steamer rack and then add your buns to the top steamer rack. Do not let them touch each other, and make sure you only put them in a single layer - we do not want them to stick to each other.
- Cover the steamer pot and let the buns steam for about 20 minutes on medium-high heat. You may have to repeat steaming in batches depending on the large your steamer is.
- Enjoy!
We love seeing your creations from our recipes! Tag us on Instagram at @AsianRecipesAtHome.
Disclaimer: Under no circumstances shall this website and the author(s) be responsible for any loss or damages resulting from the reliance of the given nutritional information or ingredient/product recommendations. Recommended ingredients/products can change their formula at any time without this website and author’s awareness. It is your responsibility (the reader’s) to check the label/ingredients of any product prior to purchasing and/or using. We greatly appreciate your support and understanding.