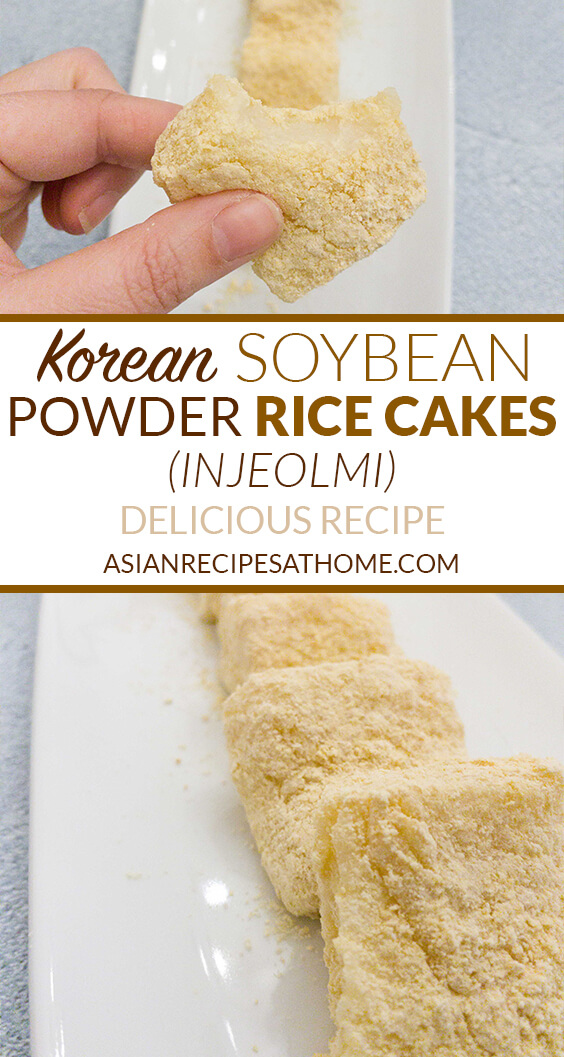
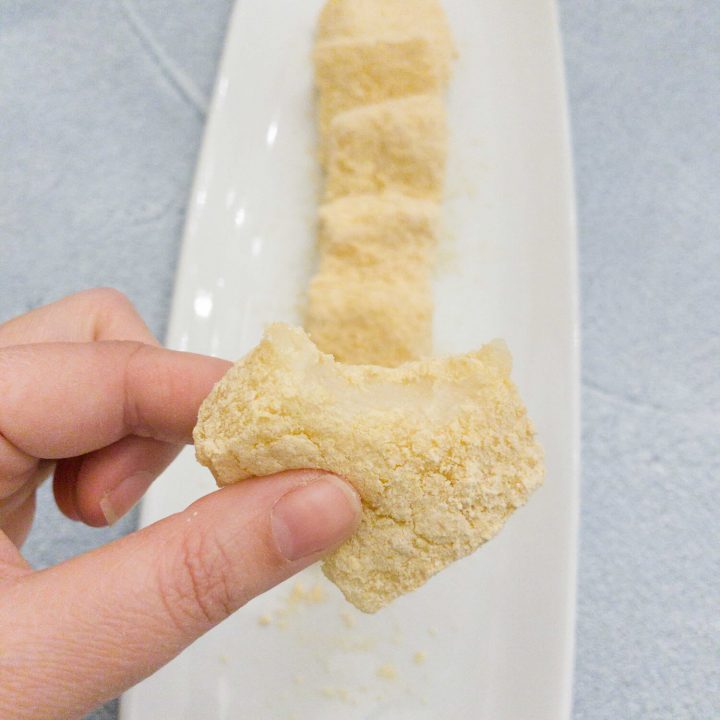
This popular Korean sweet rice cake recipe (injeolmi) is chewy, gooey, and absolutely delicious. Each sweet rice cake is coated in roasted soybean powder which gives it a slightly nutty flavor profile.
Note: We are using a rice cake/mochi machine for this recipe. We will try to attempt a recipe in the future without the need of a machine for anyone who doesn’t have access to a rice cake/mochi machine.
A great gluten-free dessert or snack
Enjoy these sweet and sticky rice cakes by themselves as a dessert, for breakfast, or a sweet snack. They are so easy to make, gluten-free, and a healthier option than most sweet treats. The rice cake machine does most of the work. The whole family, including kids, are going to love these chewy sweet rice cakes! Just ensure whatever roasted soybean powder you choose to use is in fact gluten-free.
Ingredients needed for this recipe
You only need a total of five ingredients for this recipe!
- Sweet rice (glutinous rice)
- Roasted soybean powder
- Salt
- Sugar
- Water
Tools/items needed to make this recipe

This is our machine. My mom has used this machine for almost 15 years now and it’s still going strong!
How to make Korean soybean powder sweet rice cakes (injeolmi)
Step 1: Prepare the sweet rice
Rinse the sweet rice with cold water until the water runs clear. Repeat as many times necessary until the water is clear (about 6-7 times).
Soak the sweet rice in cold water for 24 hours at room temperature on the counter.
After 24 hours, strain the sweet rice with a fine mesh colander. Leave it in the colander to allow it to continue to drain for about 30 minutes.
Step 2: Steam the rice in the machine
Put water in the bottom of your rice cake/mochi machine according to its instructions. There should be a compartment where you put the water under the metal pot in the machine.
Place the metal pot back in the machine, based on your particular machine model. Place all of the sweet rice in the pot.
Push the “Steam” button on your rice cake/mochi machine.
Step 3: Prepare the sugar water
While the sweet rice is steaming, boil about ¼ cup of water. We usually do this in a coffee cup and warm the water up in the microwave. Add the salt and sugar into the hot water and mix together well until salt and sugar dissolves. Set aside for later.
Step 4: Release the steam and wait
When sweet rice is done steaming, open the lid and wait for 20 minutes until all of the steam has released.
Step 5: Time to let the machine do the work
After 20 minutes is up, push the “Pound” button on the machine.
Intermittently throughout the “pound” process, pour in about ¼ of the sugar/saltwater mixture you made earlier. Wait a bit and pour in another ¼ of the sugar/saltwater mixture. It takes about 25 minutes for the machine to pound all of the sweet rice (the machine we have). Each machine could be a little different and take a longer or shorter amount of time. You want it to be a very smooth consistency, without any lumps of rice left.
Step 6: Coat the rice cakes in roasted soybean powder
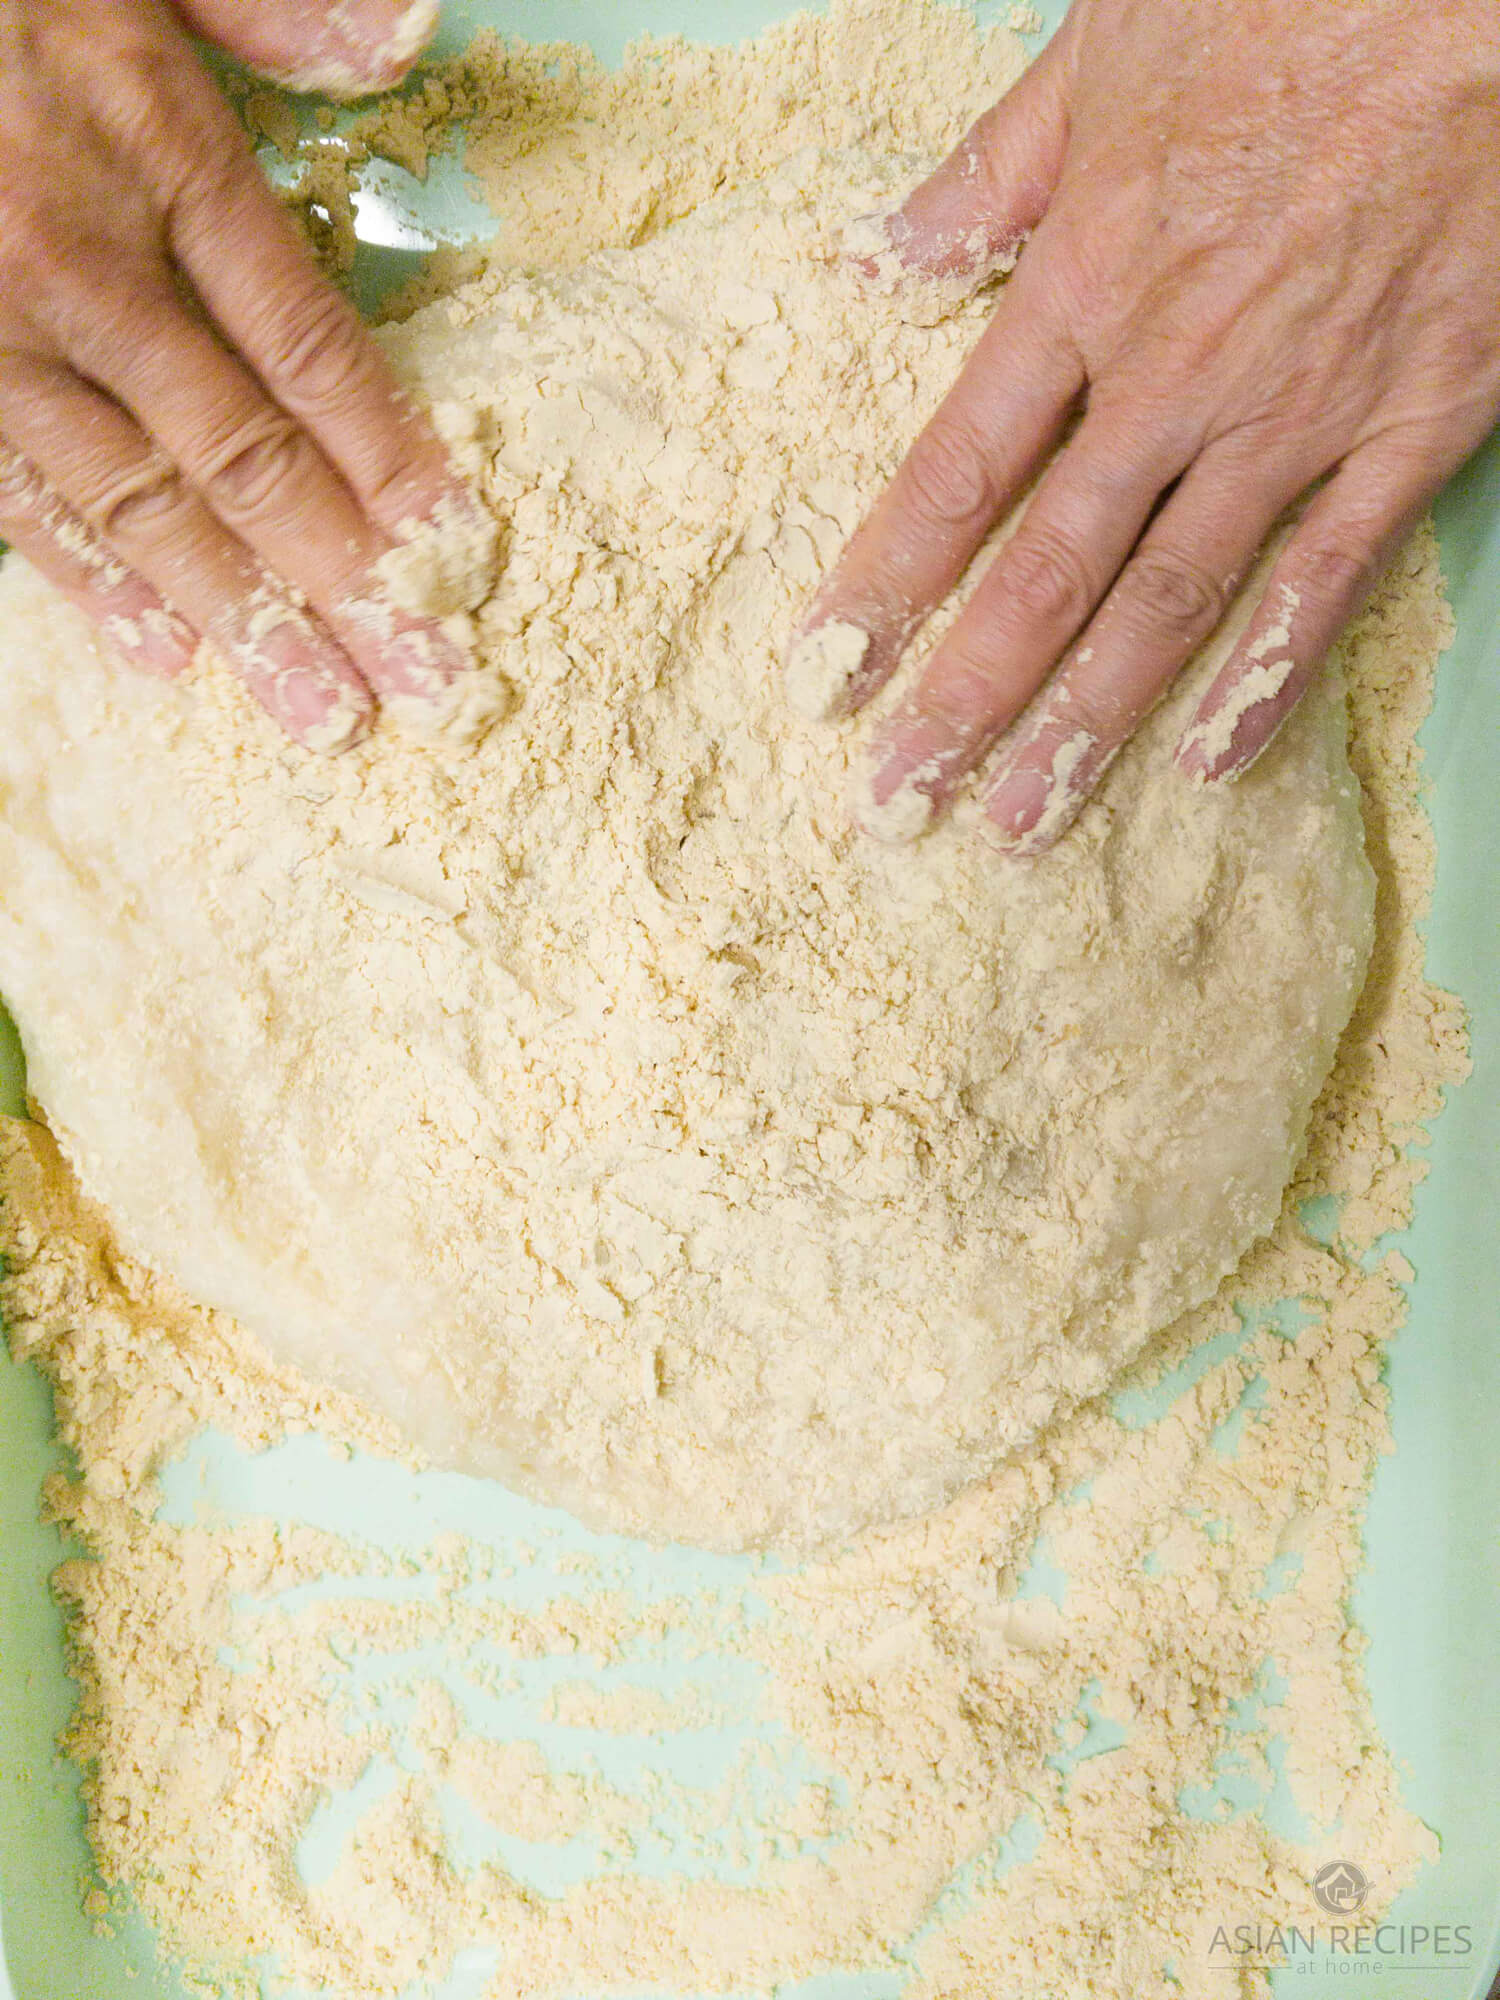
Pour half of the toasted soybean powder on a tray and spread it out evenly to cover a large surface area.
When the sweet rice is completed pounding, pour the sweet rice (now tteok) on top of the toasted soybean powder.
You’ll notice the rice cake (tteok) starts to spread out itself and becomes flat. Once it has stopped flattening out itself, pour the other half of the toasted soybean powder on top and spread it evenly.
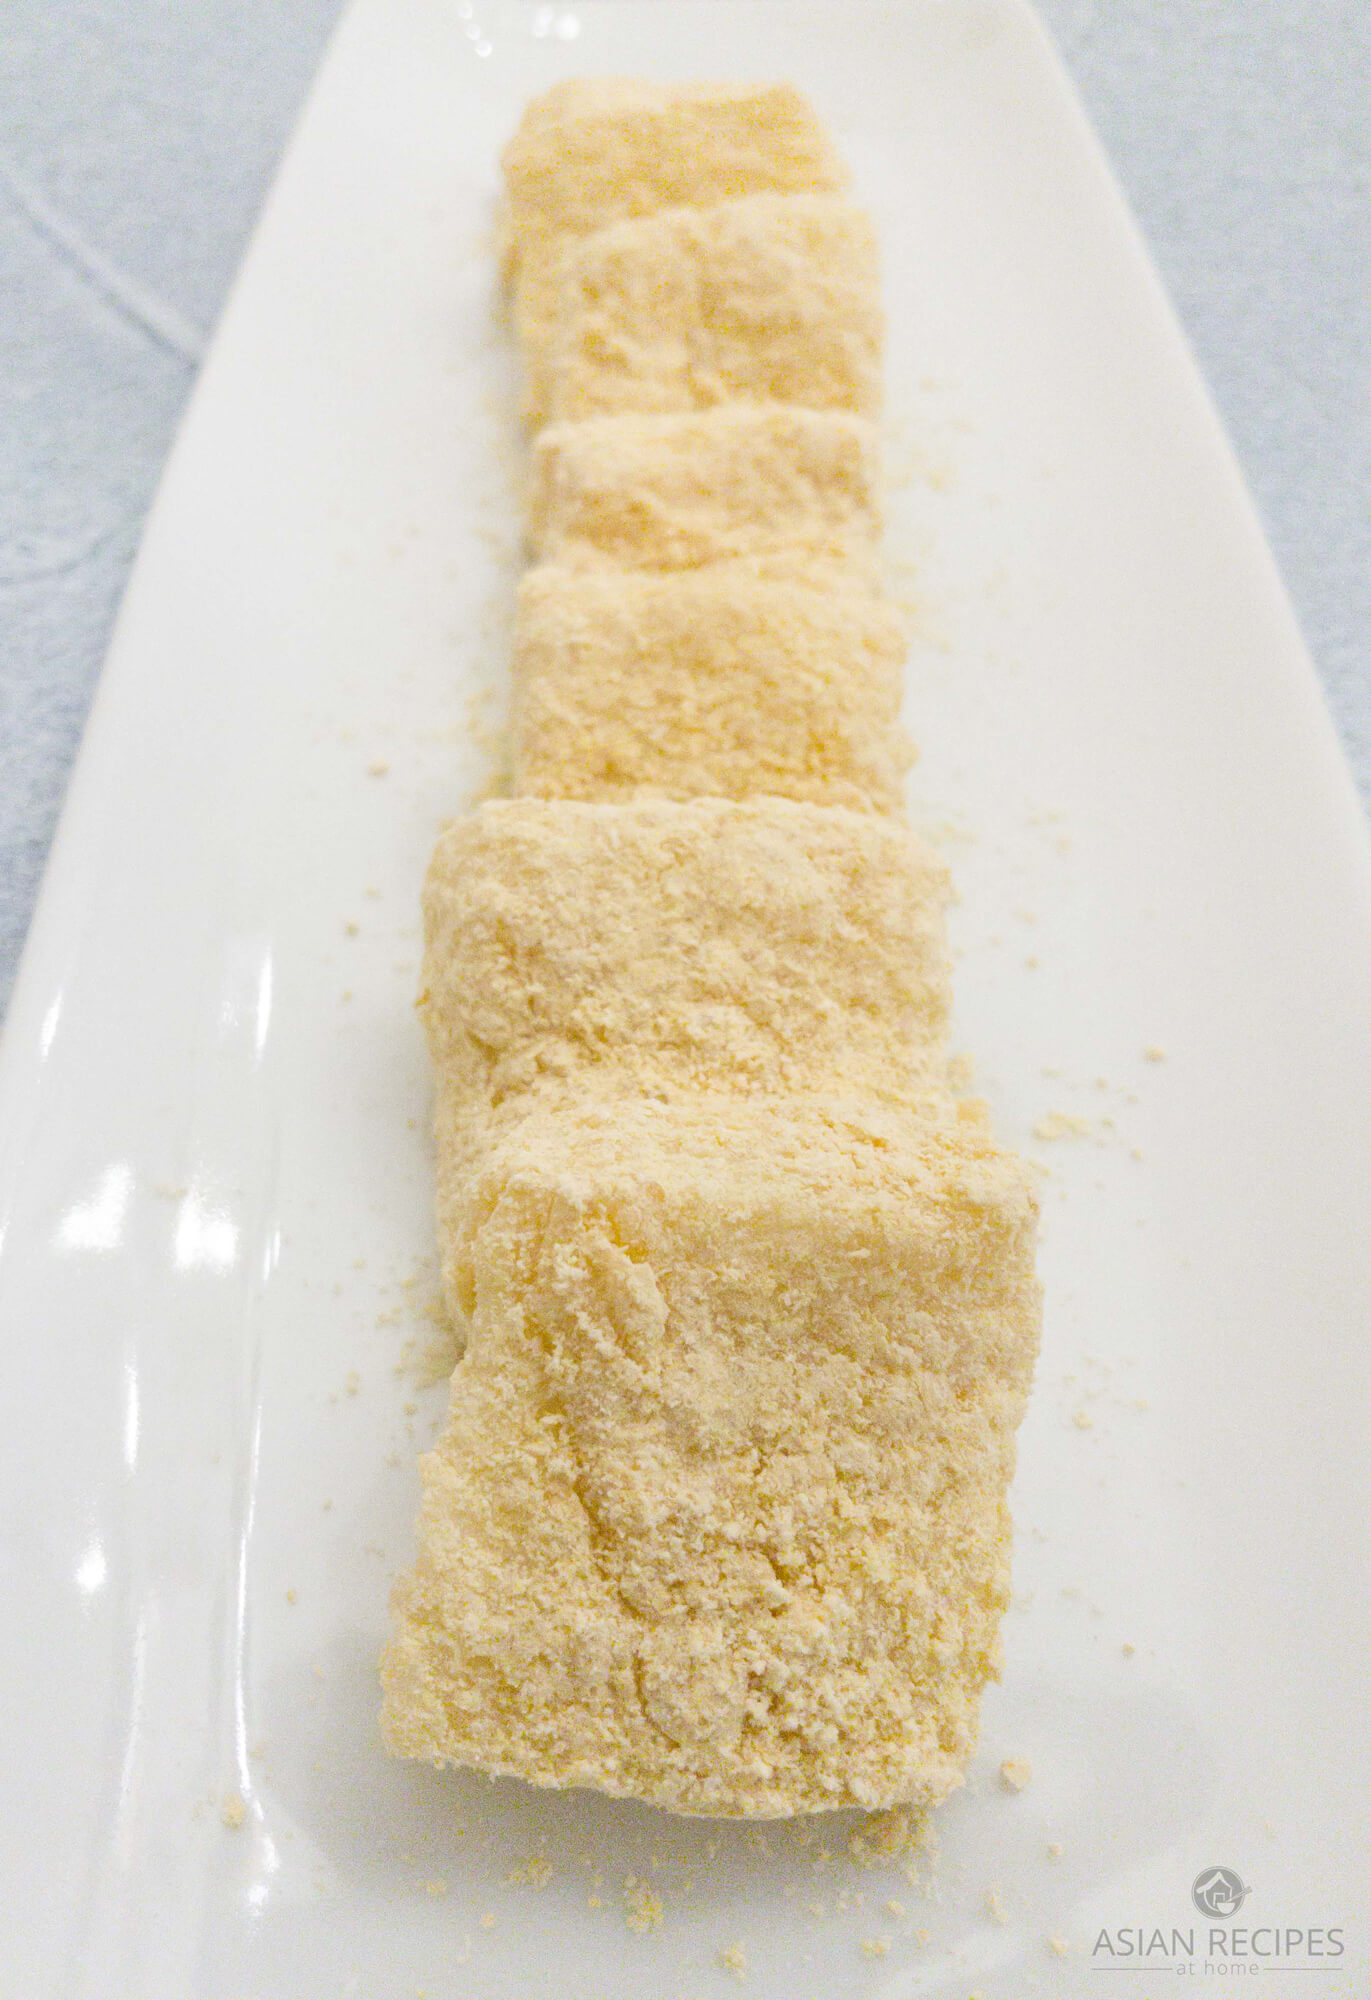
Step 7: Cut the rice cakes
Next, you can cut the rice cakes (tteok) into whatever size you like. We like a square/rectangle shape that’s easily grabbable.
Make sure you dip each piece in the excess powder to cover each cut side of the tteok to ensure it doesn’t stick to each other.
We hope you enjoy this Korean soybean powder sweet rice cakes (injeolmi) recipe!
HUNGRY FOR MORE? Subscribe to our newsletter and follow along on Facebook, Pinterest, Twitter, and Instagram for all of the latest updates.
Korean Soybean Powder Sweet Rice Cakes (Injeolmi)
This popular Korean sweet rice cake recipe (injeolmi) is chewy, gooey, and absolutely delicious. Each sweet rice cake is coated in roasted soybean powder which gives it a slightly nutty flavor profile.
Ingredients
- 6 cups sweet rice
- 1 cup roasted soybean powder
- 1 tsp salt
- 5 Tbsp sugar
- ¼ cup of Water
Instructions
- Rinse the sweet rice with cold water until the water runs clear. Repeat as many times necessary until the water is clear (about 6-7 times).
- Soak the sweet rice in cold water for 24 hours at room temperature on the counter.
- After 24 hours, strain the sweet rice with a fine mesh colander. Leave it in the colander to allow it to continue to drain for about 30 minutes.
- Put water in the bottom of your rice cake/mochi machine according to its instructions. There should be a compartment where you put the water under the pot in the machine.
- Place the pot back in the machine, based on your particular machine model. Place all of the sweet rice in the pot.
- Push the “Steam” button on your rice cake/mochi machine.
- While the sweet rice is steaming, boil about ¼ cup of water. We usually do this in a coffee cup and warm the water up in the microwave. Add the salt and sugar into the hot water and mix together well until salt and sugar dissolves. Set aside for later.
- When sweet rice is done steaming, open the lid and wait for 20 minutes until all of the steam has released.
- After 20 minutes is up, push the “Pound” button on the machine.
- Intermittently throughout the “pound” process, pour in about ¼ of the sugar/salt water mixture you made earlier. Wait a bit and pour in another ¼ of the sugar/salt water mixture. It takes about 25 minutes for the machine to pound all of the sweet rice (the machine we have). Each machine could be a little different and take a longer or shorter amount of time. You want it to be a smooth consistency without any rice chunks.
- Pour half of the toasted soybean powder on a tray and spread it out evenly to cover a large surface area.
- When the sweet rice is completed pounding, pour the sweet rice (now tteok) on top of the toasted soybean powder.
- You’ll notice the tteok starts to spread out itself and becomes flat. Once it has stopped flattening out itself, pour the other half of the toasted soybean powder on top and spread it evenly.
- Next, you can cut the rice cakes (tteok) into whatever size pieces you like. We like a square/rectangle shape that’s easily grabbable.
- Make sure you dip each piece in the excess powder to cover each cut side of the tteok to ensure it doesn’t stick to each other.
We love seeing your creations from our recipes! Tag us on Instagram at @AsianRecipesAtHome.
Disclaimer: Under no circumstances shall this website and the author(s) be responsible for any loss or damages resulting from the reliance of the given nutritional information or ingredient/product recommendations. Recommended ingredients/products can change their formula at any time without this website and author’s awareness. It is your responsibility (the reader’s) to check the label/ingredients of any product prior to purchasing and/or using. We greatly appreciate your support and understanding.