Natto is simply soybeans that are fermented that are a staple in traditional Japanese cuisine. You only need two ingredients for our recipe, dried soybeans, and water.
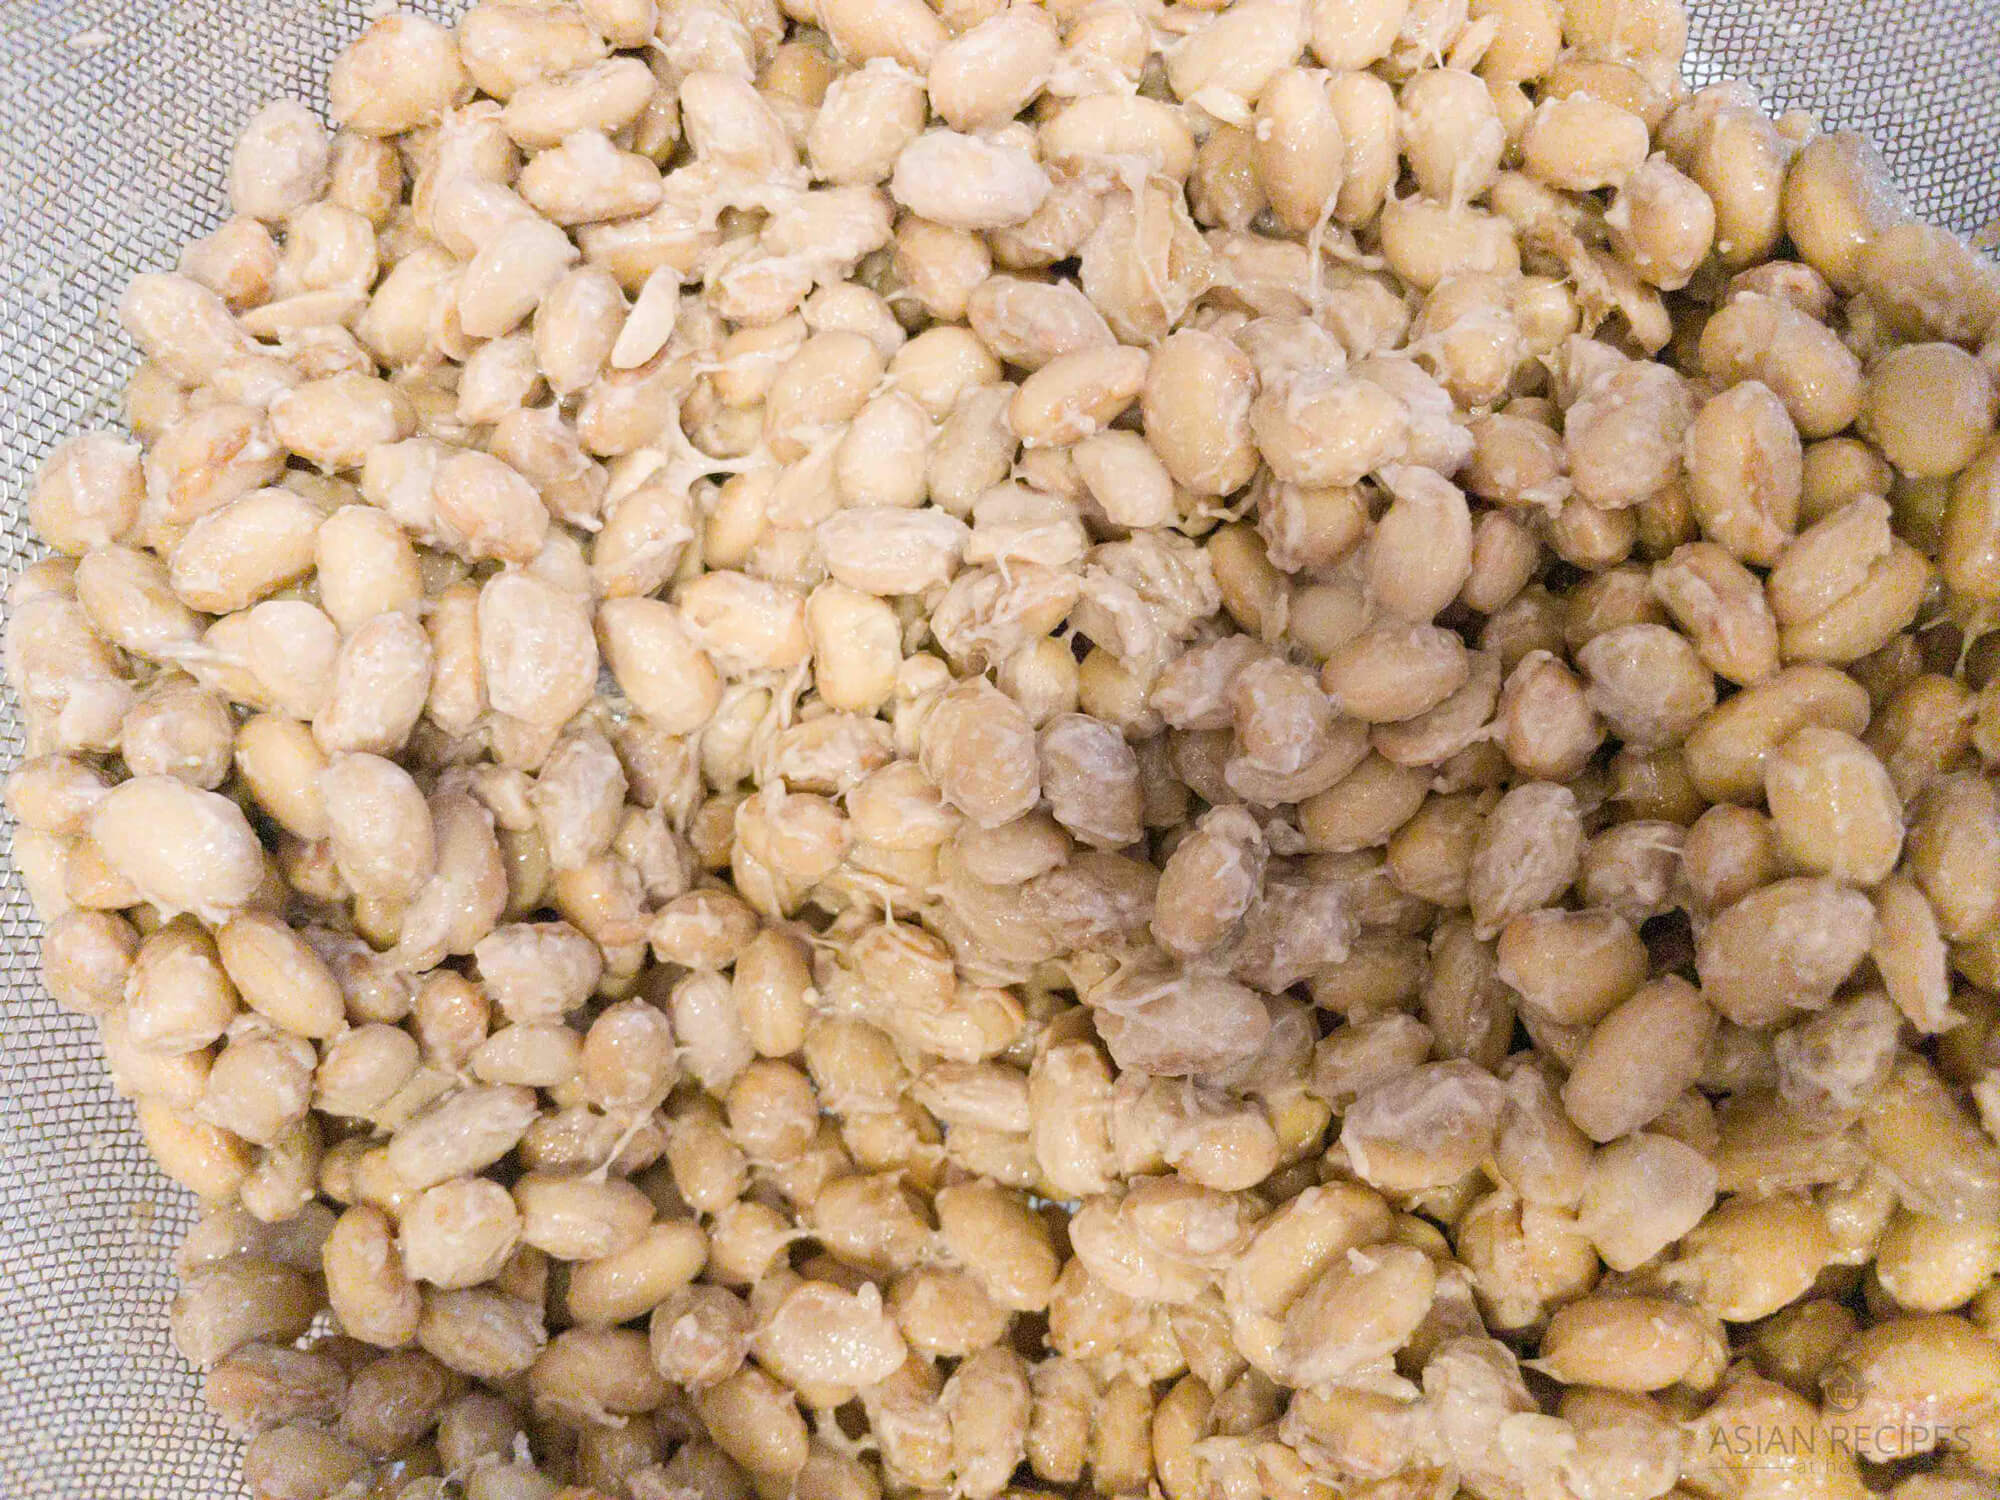
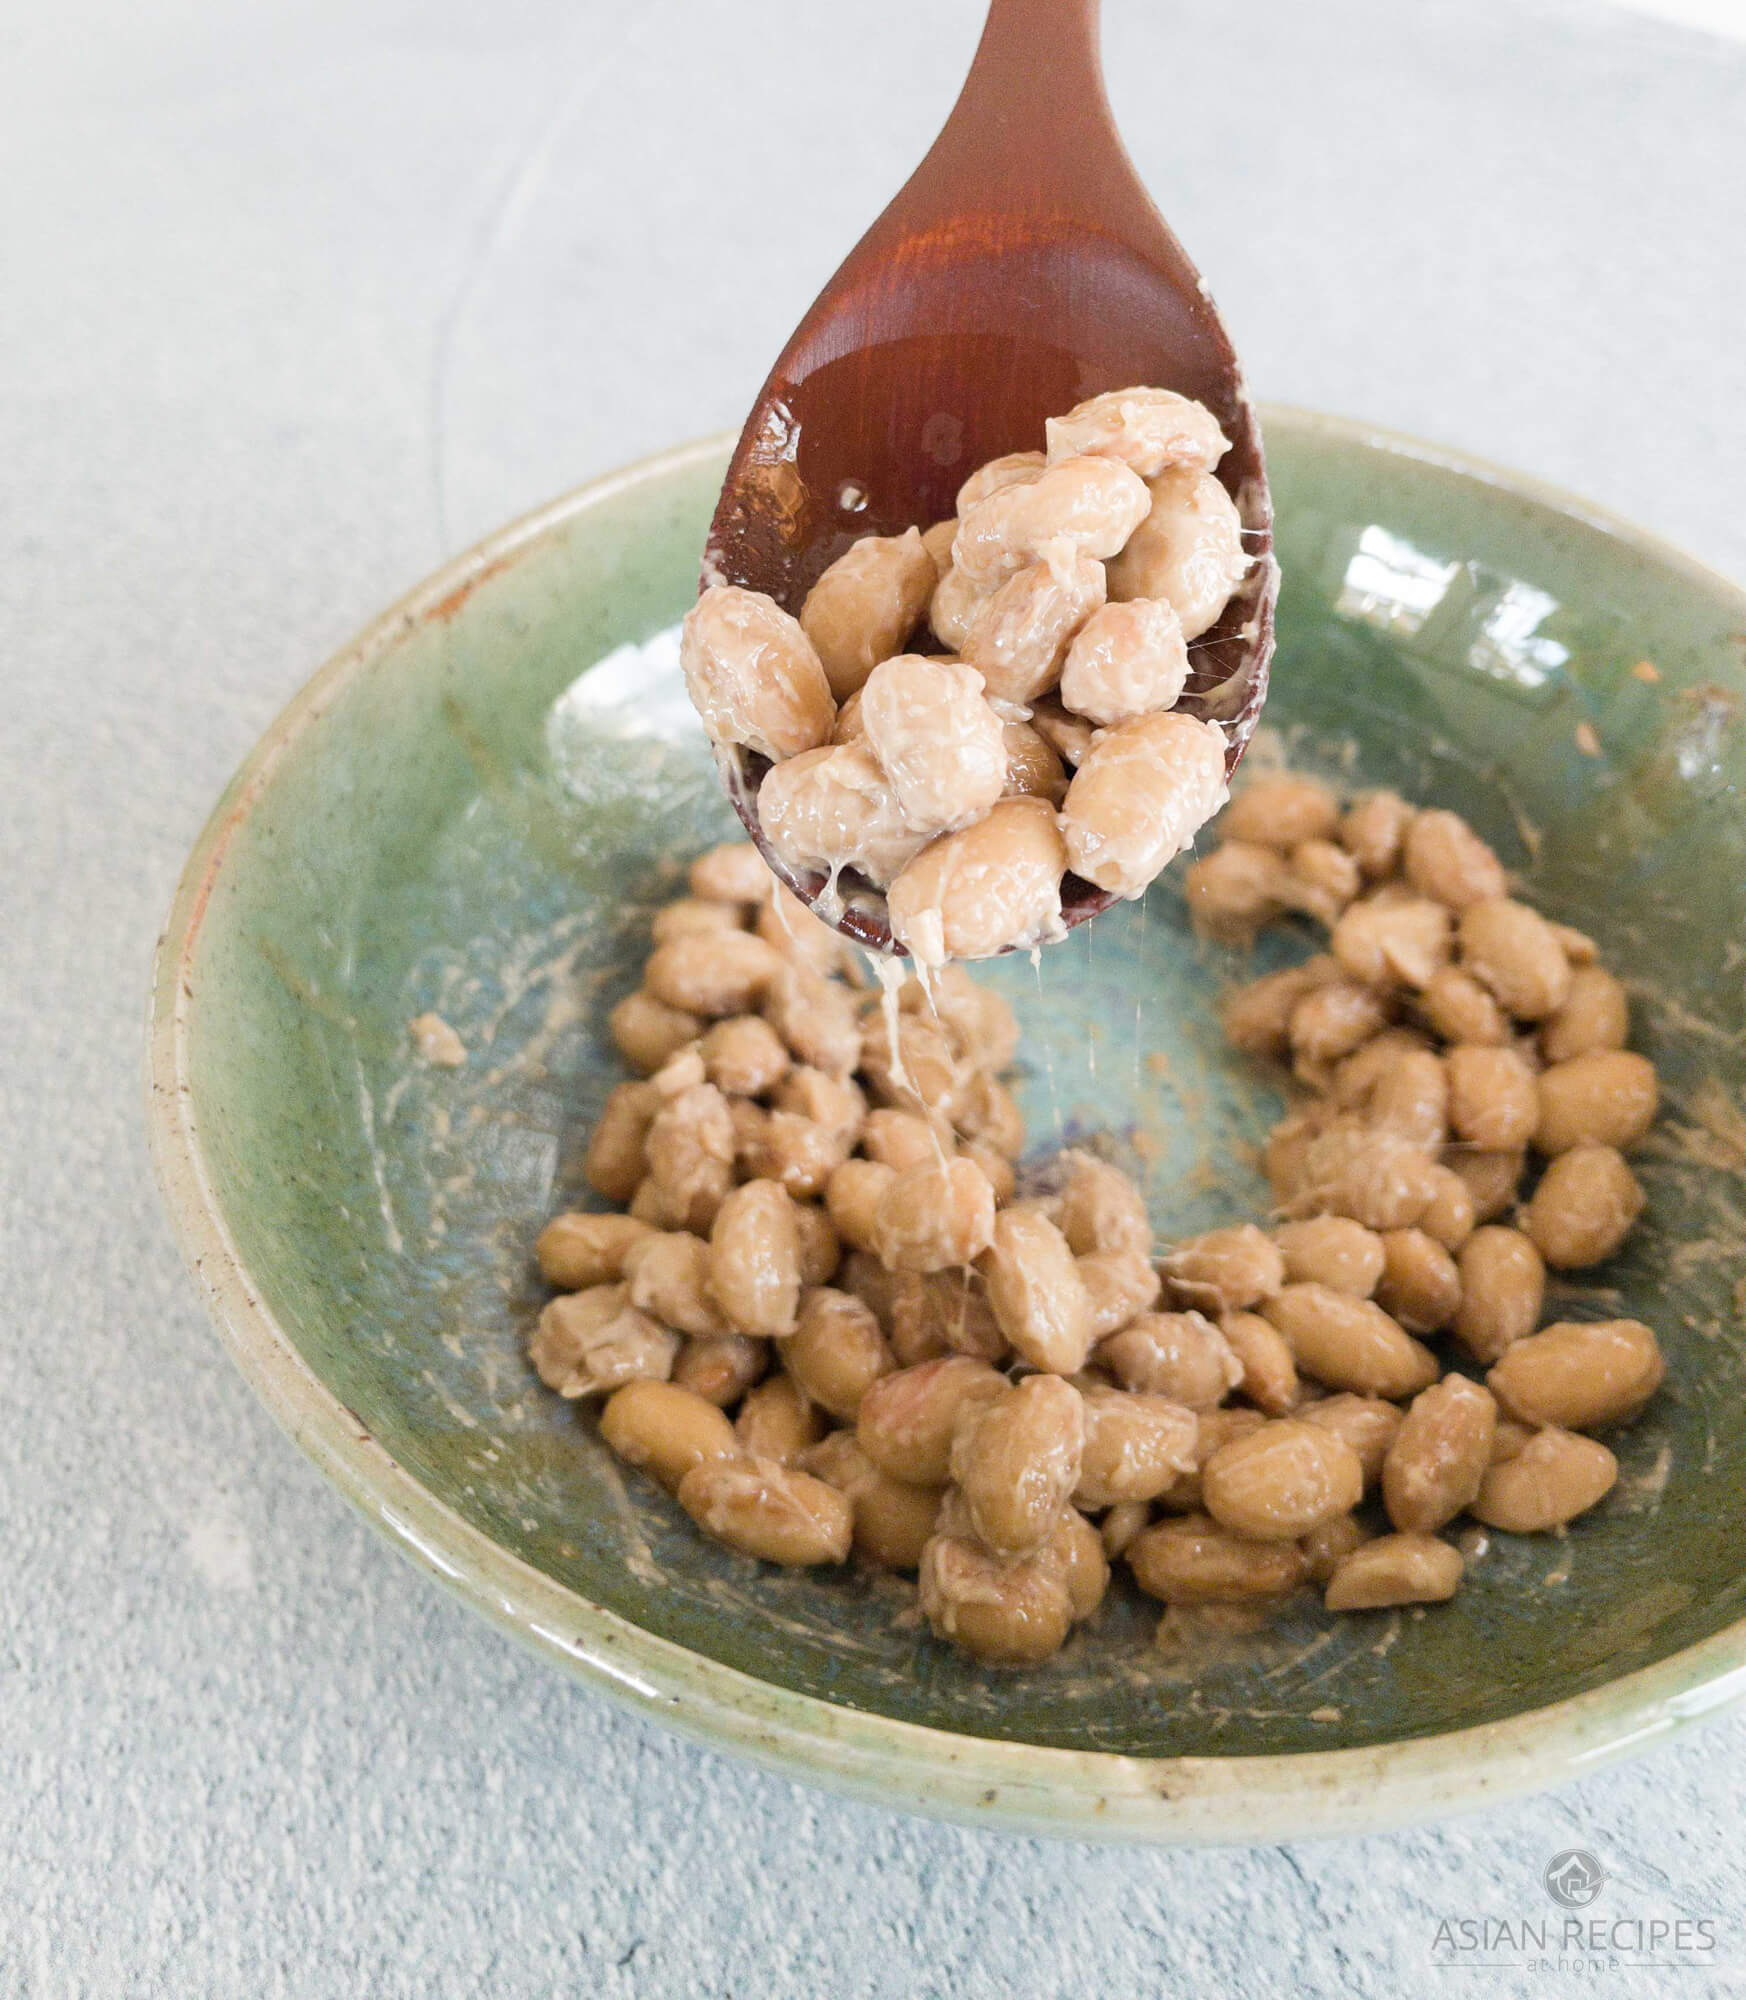
The process of making natto takes quite a few hours to make, however, the machine does most of the work. You know you’ve made a great batch of natto when stirring it brings out gooey strands. Our recipe doesn’t call for any natto starter as it creates its own beneficial bacteria following our method.
Making your own natto at home is extremely cost-effective. Buying premade natto in the freezer section at most Asian grocery stores can be costly for small packages. You’re getting healthy doses of fermented soybeans at a fraction of the cost of buying natto pre-made. Score!
Key features and tips
A fair warning, that we are fermenting soybeans so it will be odorous. If you are easily offended by fermentation smells, you may not want to continue with this recipe. Or choose a spot in your home where the smell while fermenting won’t offend you or others. We just love the overall health benefits of Natto and we are completely accustomed to the funky smells that can come with fermenting foods.
As always, when dealing with naturally fermenting foods, please sterilize all tools prior to starting this process. You want to make sure there isn’t any cross-contamination of bacteria to ensure your fermented food is safe for eating. Boil some clean water, and pour over all tools (mixing/soaking bowl, spoons, stainless steel strainer basket, etc.) you will be using to ensure they’re sterilized. Or you can also double ensure they’re sterilized by boiling any tools in boiling water for about 5 minutes.
Benefits of eating Natto
Natto (fermented soybeans) makes your skin glow. Eat Natto regularly for about a month and you will notice your skin having more of a glow to it. You only need to eat about two tablespoons per day for great health benefits.
- Probiotic-rich food (1) – optimizes digestive health and can help treat diarrhea, ulcerative colitis, and IBS (2).
- Rich in Vitamin K (3) – which helps with heart health (4), reduces the risk of arterial calcification and supports bone health (5).
- Contains Nattokinase (6)
Ingredients needed to make your own homemade Natto
You only need TWO ingredients to make our homemade natto recipe:
Tools needed to make this Natto recipe
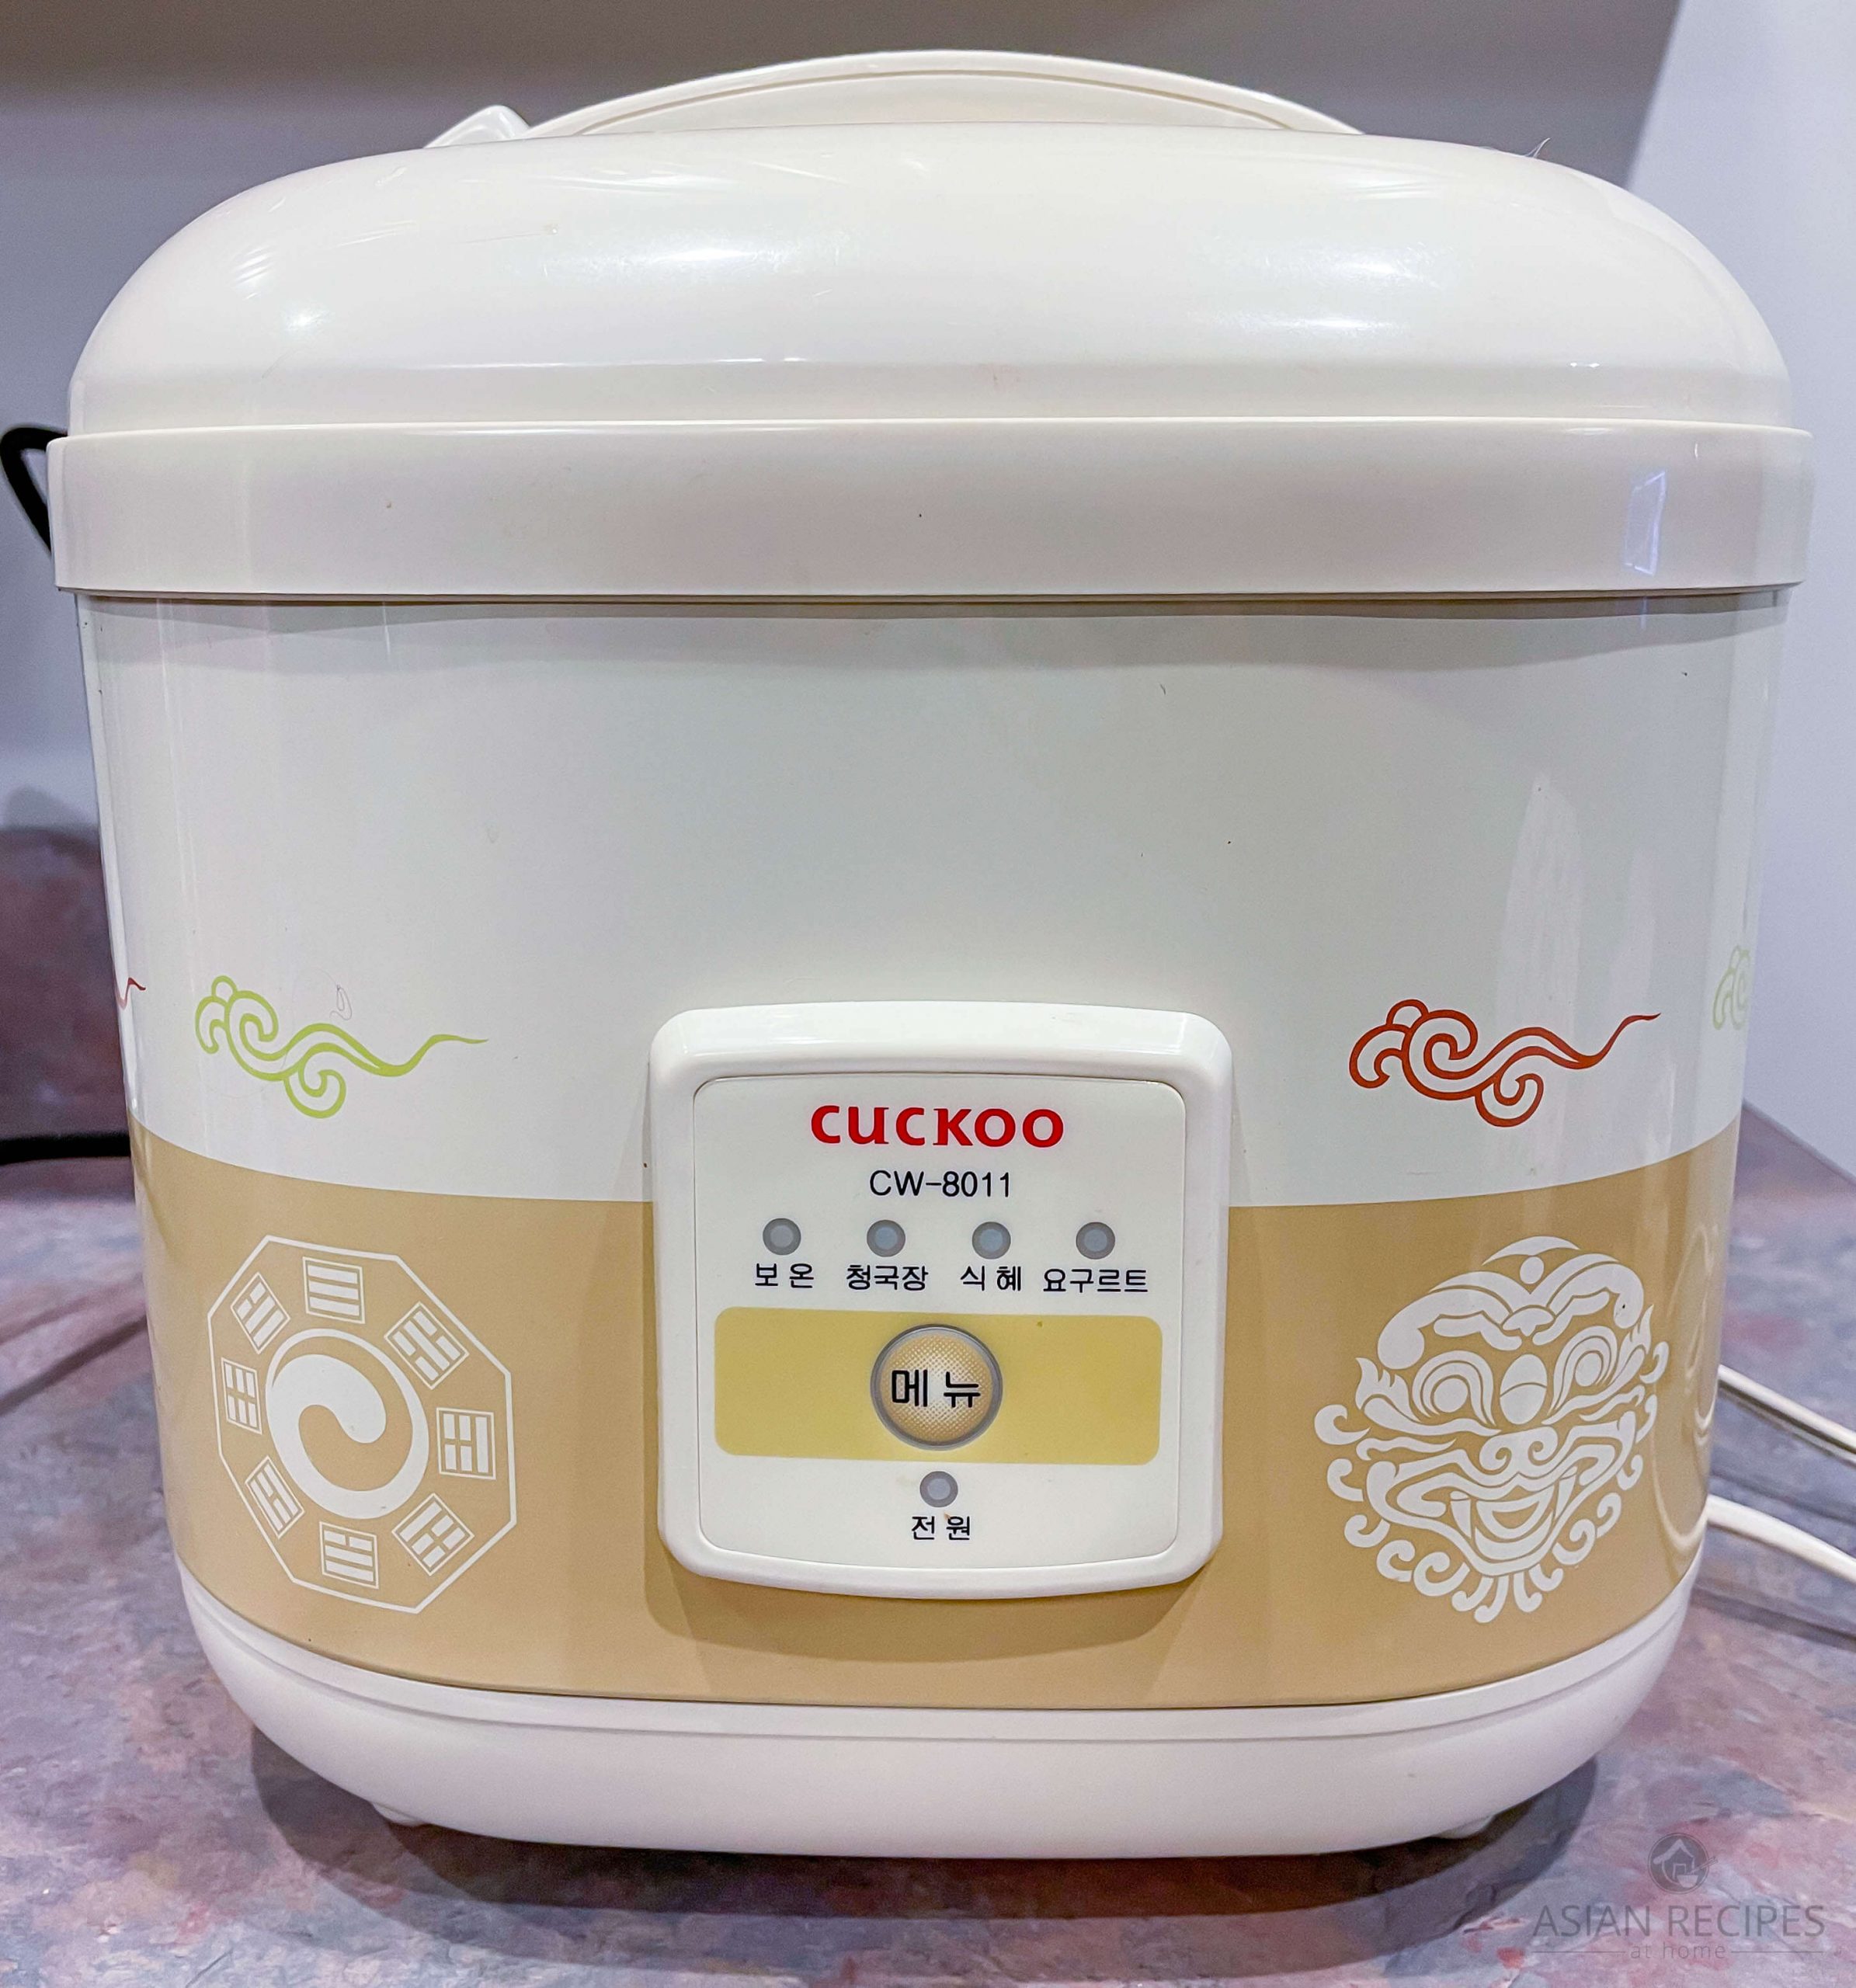
- Fermented soybean maker machine – We couldn’t find a recent Cuckoo model that specifically stated it could also ferment beans/soybeans. We found a different brand that states it can make Natto.
- Stainless steel strainer basket – Make sure to choose the quart size that fits in your machine.
- Stainless bowl (to soak soybeans)
We used a Cuckoo brand fermented soybean maker machine to make this recipe – see the picture of the one we used below. Results may vary if you don’t have the exact same make/model we are using. That’s part of the fun of cooking is to experiment and also make our baseline recipe of instructions work for you and your own tools.
If you don’t have a fermented soybean maker, you could try using an Instant Pot using the same instructions with a minor adjustment to the last step. For the final step when using our Cuckoo fermented soybean maker we used the “keep warm” function for 48 hours, if you’re trying the Instant Pot (IP) then use the “Yogurt” button instead for 48 hours. Place the stainless strainer basket of pressure-cooked soybeans right inside the IP. You want there to be gooey, strands forming when you stir the soybeans. This is when you know the Natto is finished. We are not using Natto starter in our recipe, so this is why it takes much longer (48 hours) so that it has time to ferment and create beneficial cultures/bacteria. Note: We have not personally tested using the Instant Pot or pressure cookers with a yogurt function, but we hope to test it in the near future ourselves. We will update this recipe post whenever we do test an Instant Pot or other electric pressure cookers ourselves to confirm the results.
How to make our homemade Natto
Step 1: Sanitize your tools
Boil some clean water, and pour over all tools (mixing/soaking bowl, spoons, stainless steel strainer basket, etc.) you will be using to ensure they’re sterilized. Or you can also double ensure they’re sterilized by boiling any tools in boiling water for about 5 minutes.
Step 2: Prep the soybeans
Rinse the soybeans in clean water twice to ensure you remove any dirt or debris.
Step 3: Soak the soybeans in clean water
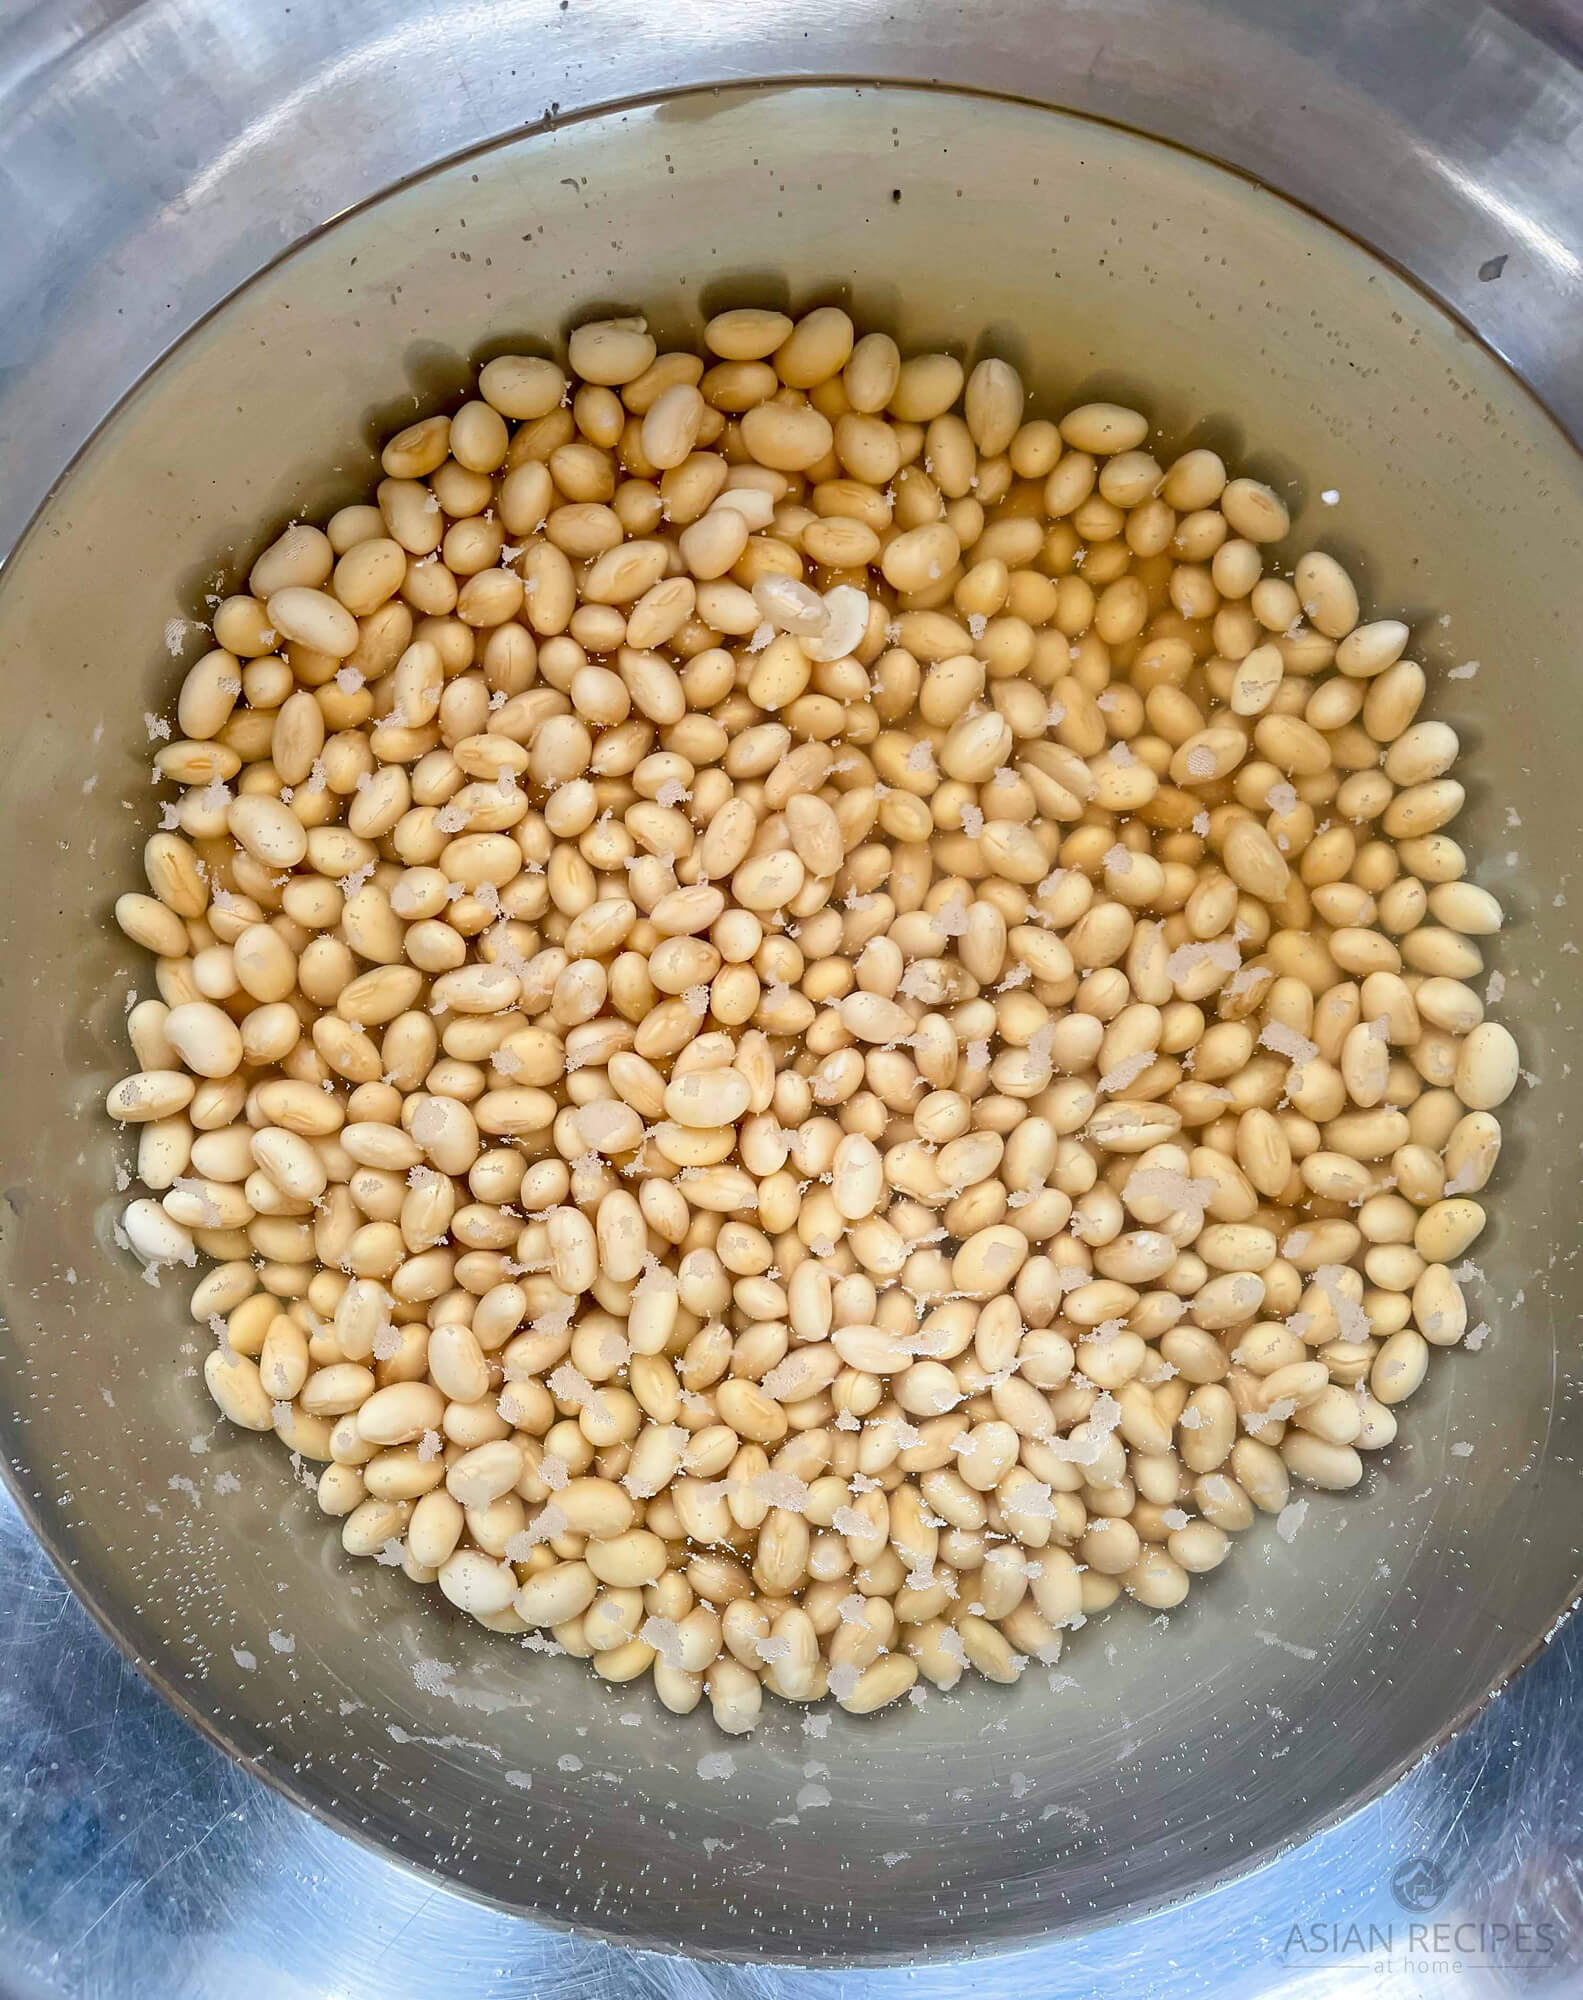
Soak the dry soybeans in clean water for 24 hours. Within those 24 hours, change the water out three times (about 10-hour intervals). Replace each time with fresh, clean water and continue soaking. We do not remove the soybean skins at any point throughout the process.
Step 4: Pressure cook the soaked soybeans
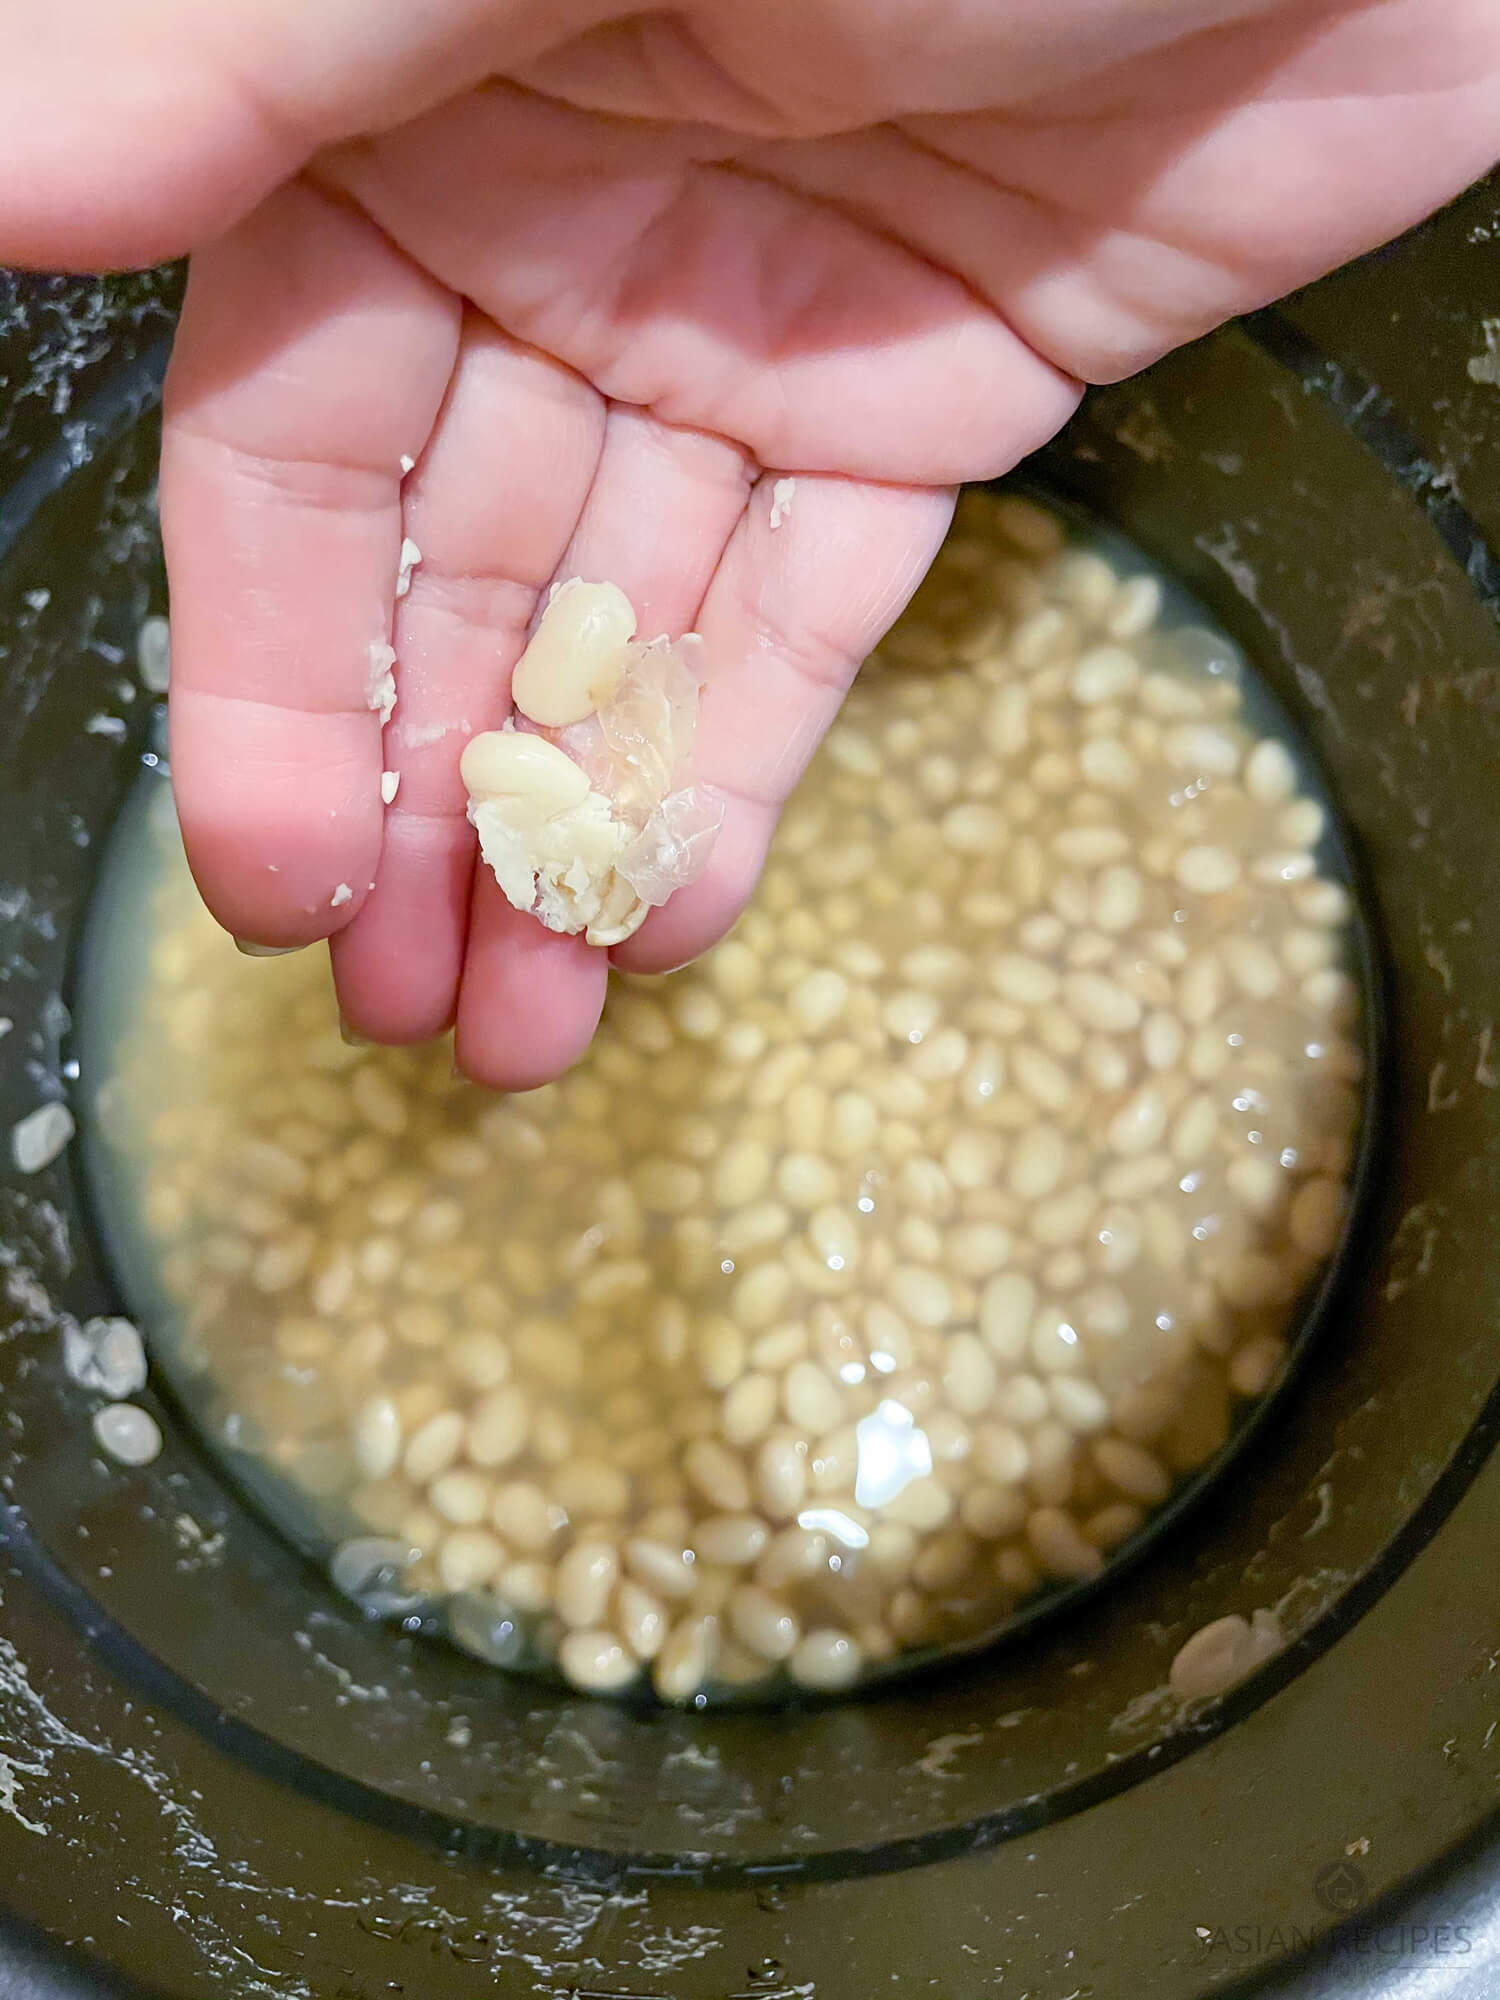
Now, we’re going to pressure cook the soybeans. You can use the same water it is soaking in. Place the soaked soybeans and water into the pressure cooker. Remove or add water until you have about an inch of water over the top of the soybeans. Pressure cook on high pressure for 30 minutes. The soybeans are done with they smush easily between your fingers. We do not remove the soybean skins at any point throughout the process.
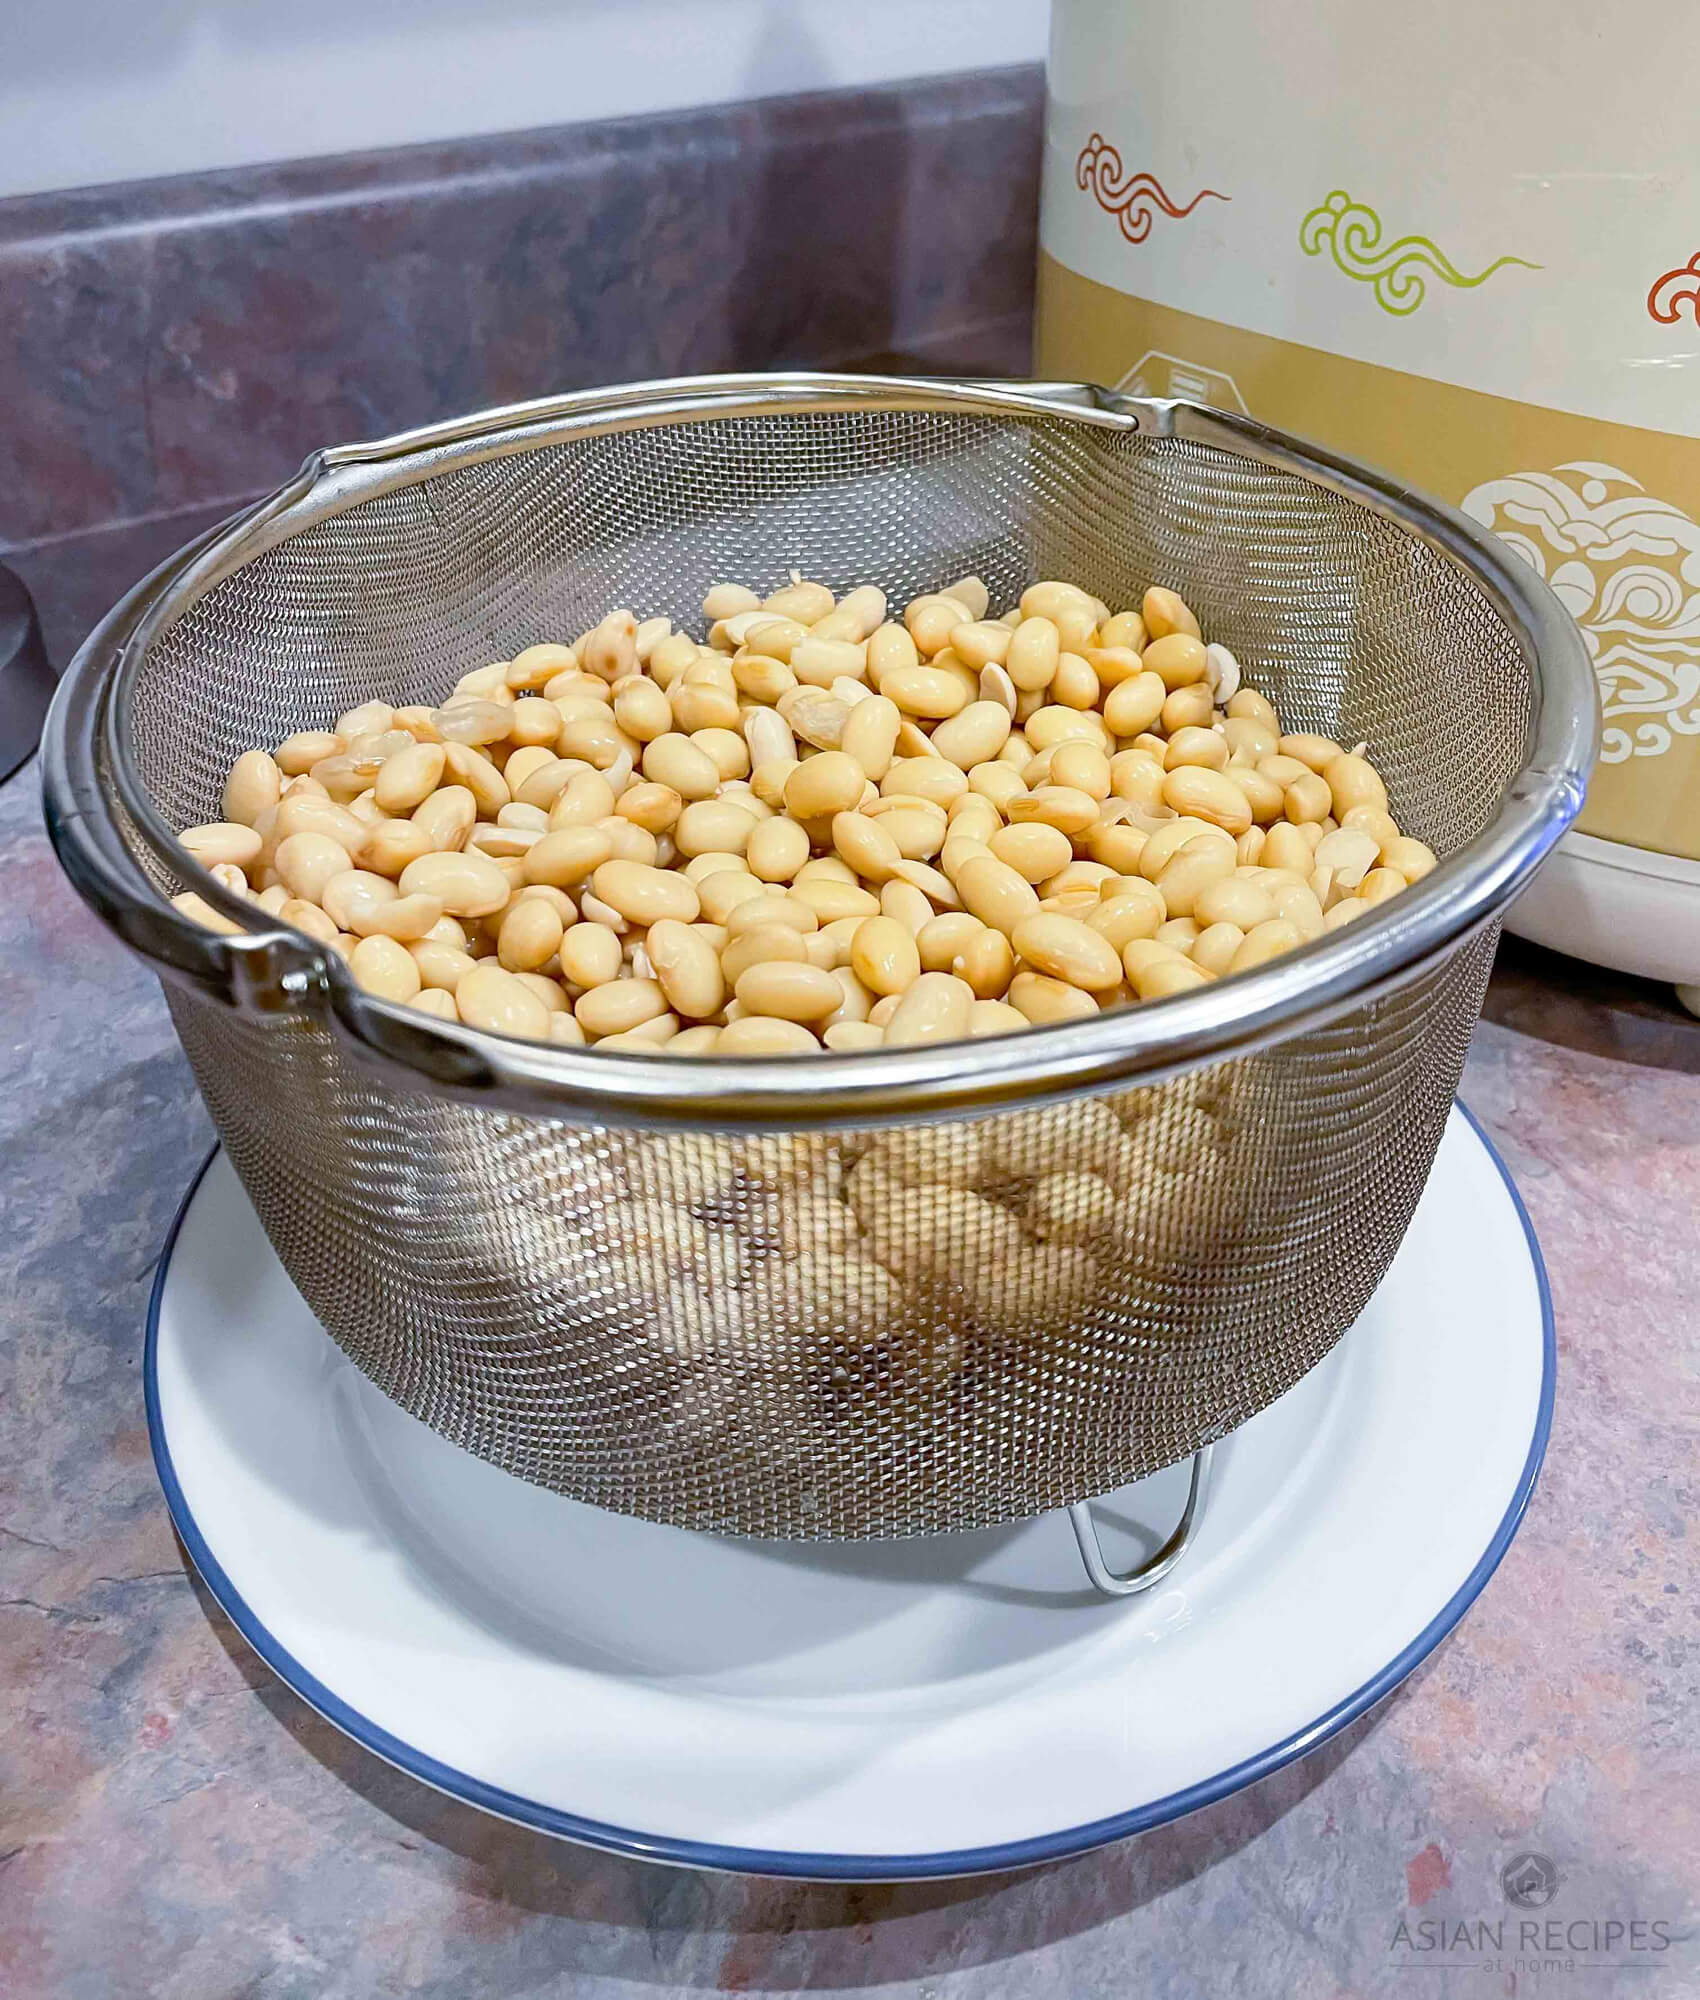
Once the time is up, release the pressure and drain into a colander or drainage basket. Place the soybeans on the counter in the stainless strainer basket for 2 hours to allow them to dry out a bit.
Step 5: Let it ferment/cook for 48-hours
After the two hours is up, place it in the Natto-making machine. Put it on the “keep warm” function for 48 hours.
After 48 hours, your Natto is ready. You want there to be gooey, strands forming when you stir the soybeans. This is when you know the Natto is finished.
Serving suggestions and how to eat Natto
We personally love to eat a couple of tablespoons of natto with a drizzle of sesame oil. Simply mix the Natto and sesame oil together and eat it just like that for a healthy dose of this fermented food. Sometimes we’ll eat it on top of rice as well. Traditionally in Japanese culture, natto would be eaten with breakfast on top of freshly steamed rice with a drizzle of soy sauce. You can also use natto in miso soup, or even in Korean-style fermented soybean paste (doenjang) soup – see one of our recipes here!
Storing your freshly made Natto
Store in the fridge in an airtight container for up to a month. The longer it is stored the more pronounced the flavor will become. You could also freeze individual-sized servings and keep them in your freezer. Once thawed it is recommended to eat within a week.
HUNGRY FOR MORE? Subscribe to our newsletter and follow along on Facebook, Pinterest, Twitter, and Instagram for all of the latest updates.

Homemade Fermented Natto
Natto is simply soybeans that are fermented that are a staple in traditional Japanese cuisine. You only need two ingredients for our recipe, dried soybeans, and water.
Ingredients
- 1 lb dry organic soybeans
- Water
Instructions
- Boil some clean water, and pour over all tools (mixing/soaking bowl, spoons, stainless steel strainer basket, etc.) you will be using to ensure they're sterilized. Or you can also double ensure they're sterilized by boiling any tools in boiling water for about 5 minutes.
- Rinse the soybeans in clean water twice to ensure you remove any dirt or debris.
- Soak the dry soybeans in clean water for 24 hours. Within those 24 hours, change the water out three times (about 10-hours intervals). Replace each time with fresh, clean water and continue soaking. Note: We do not remove the soybean skins at any point throughout the process.
- Now, we’re going to pressure cook the soybeans. You can use the same water it is soaking in. Place the soaked soybeans and water into the pressure cooker. Remove or add water until you have about an inch of water over the top of the soybeans. Pressure cook on high pressure for 30 minutes. Once the time is up, release the pressure and drain into a colander or drainage basket.
- Place the soybeans on the counter in the colander/drainage basket for 2 hours to allow them to dry out a bit.
- After the two hours is up, place it in the Natto-making machine. Put it on the “keep warm” function for 48 hours.
- After 48 hours, the Natto is ready.
Notes
Results may vary if you don't have the exact same make/model machine we are using. That's part of the fun of cooking is to experiment and also make our baseline recipe of instructions work for you and your own tools. When we have a chance to test this recipe with an Instant Pot using the yogurt function, we will update this recipe post.
We love seeing your creations from our recipes! Tag us on Instagram at @AsianRecipesAtHome.
Disclaimer: Under no circumstances shall this website and the author(s) be responsible for any loss or damages resulting from the reliance of the given nutritional information or ingredient/product recommendations. Recommended ingredients/products can change their formula at any time without this website and author’s awareness. It is your responsibility (the reader’s) to check the label/ingredients of any product prior to purchasing and/or using. We greatly appreciate your support and understanding.

4 comments
You do not remove the skins after soaking?
Hi Peggy! Thank you for asking. We do not remove the skins after soaking. I’ll add that to the post to clarify for others who may be wondering the same thing. Enjoy! 🙂
Hi,
I really enjoyed reading your post and the great recipe! Could you please clarify 3 questions below:
(1) What is the temperature range for the “Keep Warm” function of that particular Natto-making machine you used? Knowing the specific “Keep Warm” temperature is very important for me to follow your recipe since a starter is not used in this case.
(2) I see many Youtubers ferment their pressure-cooked Natto immediately after draining the water out from the cooked soybeans while the soybeans are still hot or warm. I LOVE your recipe does not require using a starter, but I’m not clear on the reason why the pressure-cooked soybeans need to dry out for 2 hours in this recipe vs simply draining the water and immediately start the fermentation when the soybeans are still hot or warm. Could you help me understand why? For example, have you tried immediate fermentation after draining cooked soybeans but it did not turn out well? Is it because no started is used for your recipie?
(3) Have you had a chance to try this recipe with an Instant Pot with Yogurt function? If so, could you please share the temperature stetting used and how long to ferment the soybeans?
Thanks in advance!!
Hi Val! Thanks for taking the time to comment and ask your questions. My mom and I are going to try to answer your questions the best we can:
1. We searched to see if we still had the manual or if I could find an online manual that states the exact “Keep Warm” temperature for our machine. Unfortunately, we could not find anything in regards to what temperature range our machine is during the “Keep Warm” function. We believe the “Keep Warm” function on most machines or even rice makers should suffice for our recipe. Typically, maintaining a temperature between 100˚F/40˚C is ideal. However, without testing our recipe in every machine on the market, it is hard for us to guarantee results. We’ve had to do some trial and error to get the recipe right with the tools we have, and readers may have to do the same. Hope that makes sense and you can understand.
2. In speaking with my mom, letting the pressure-cooked soybeans air dry is very important in our humble opinion. If not allowed to air dry, it will likely have too much moisture and there will still be a lot of water which could make the end result watery. We don’t want a lot of moisture built up in the pot during the fermentation process. My mom has tried it before where she took the pressure-cooked soybeans, drained and immediately started fermenting them and it turned out too watery and it did not ferment as well as it could (some trial and error on our end).
3. We have not used the Yogurt function on an Instant Pot personally. That is something we will try in the near future the next time we make a batch of natto and can share our results then.
Hope this helps a bit! If you do try it with your specific machine/environment, let us know how it turns out!